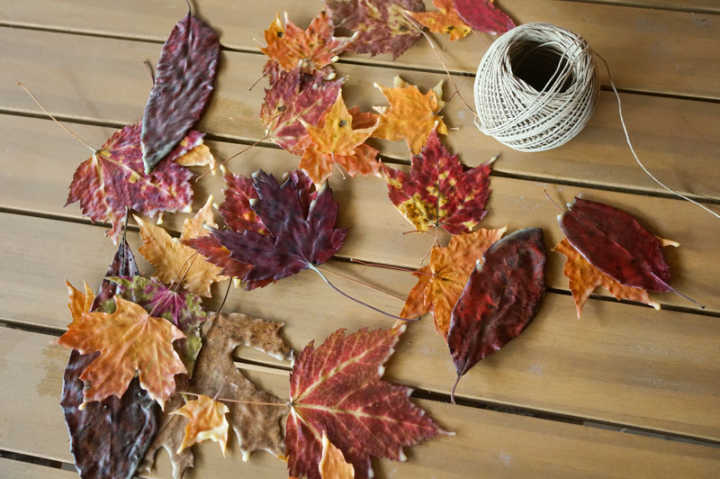
Nature School Project: Waxed Leaf Banner
In this week's Martin & Sylvia's Nature School Story, "I Feel Orange," Sylvia is feeling very energetic on one Nature School morning, but her friend Sofia is feeling very tired. “I feel blue,” she says. This inspires a long conversation, and then a project based on what it is to “feel” different colors.
I'm a firm believer in the power of color to make us feel different feelings. For example, I wanted my kitchen to feel happy and welcoming so I painted it a warm buttery yellow. I find brown makes me feel relaxed and calm, so I have a brown couch.
Last year I visited a friend in North Carolina right as the trees were turning their full colors, just like in this Nature School story. Having lived in the low desert for the last 12 years, I'd almost forgotten what changing leaves look like; you have to drive many hours north to see fall colors! Needless to say, I was awestruck by the gold, red, orange, and all the numerous mixes.
This waxed leaf banner tutorial was inspired by my desire to preserve the good feeling brought on by those different-colored leaves. This leaf banner will lighten the mood of any room.
Waxed Leaf Banner
Materials:
Leaves of various colors (pressed so they are flat and dry)
Beeswax or other paraffin-free wax
Twine or yarn
Double broiler or a pot and glass bowl
Directions:
Begin by grating the beeswax. How much beeswax will depend on how many leaves you are dipping. If you find you run out you can always melt more.
Using a double boiler, melt the wax – making sure not to let it boil.
When the wax is melted, begin dipping your leaves. You'll want to dip only once so that you don't build up too much wax. (Too much wax, and the leaves will begin to look white rather than their beautiful color.)
When you pull the leaf out of the wax, let the excess drip off and the wax cool for a few second before you put it down on a clean surface, such as the kitchen counter or a piece of paper.
After you have dipped all the leaves you want, begin tying them to the twine. I made a small loop at the end of mine for easy hanging. Then I simply made a knot and slipped the stem end of the leaf in the knot before pulling it tight. Continue tying knots and placing the leaves in the knots until you are done.
Hang and enjoy!
If you make this Nature School project, please share your photos with us on Instagram @sparklestories – or email us at kindwords@sparklestories.com. We'd love to see what you come up with!
About the Author

KC Pagano
KC is a full-time radical homemaker and mama to two spunky little girls. She writes about all kinds of radical goodness, from gardening and cooking with whole foods to crafting, sewing, homeschooling, and mama musings. Read more on her blog The Nettlesome Life.

