Nature School Project: Mushroom Spore Printing
In the Martin & Sylvia’s Nature School story “What is Underneath,” Martin is getting to know his fellow Deermice but worries that Alexander doesn’t like him. He is delighted, however, to be paired with Alexander for a mushroom nature drawing project where he learns that what you see doesn’t always show what is underneath.
We are joined today by Krista. This post was previously posted on Mud Puddles to Meteors, one of our blog contributors.
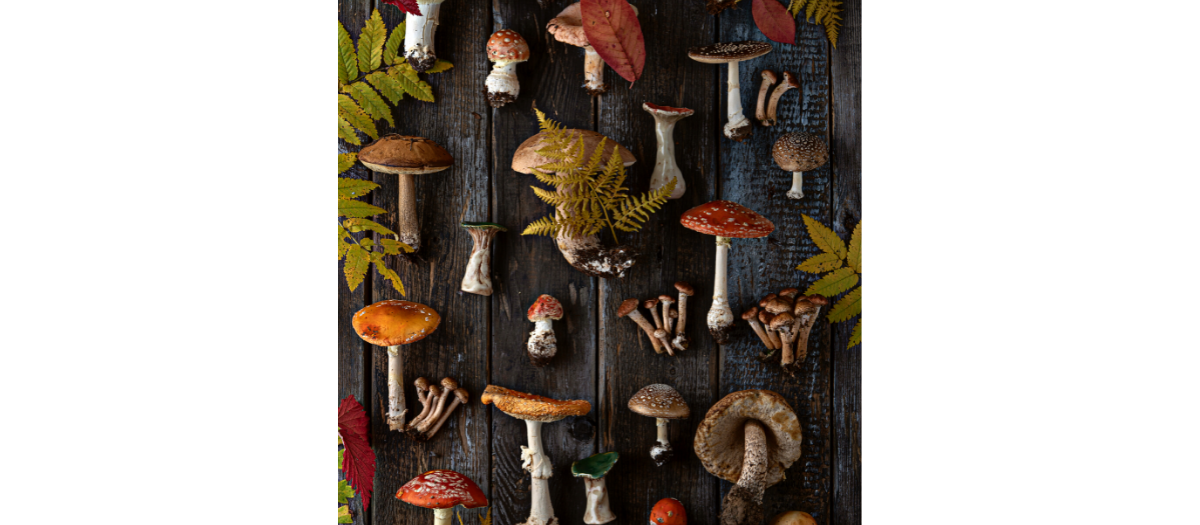
Late summer and autumn is the time of year when it is hard not to notice the abundance of mushrooms in most of our climates. Sometimes we are drawn to the colors, the unique shapes and patterns that help us identify edible mushrooms. Mushroom spore printing is often done to differentiate between similar-looking species, but can be a very fun and simple nature study to do. It can reveal simple works of art!
What you need:
– Fresh mature mushrooms (immature mushrooms will not release their spores)
– White and black cardstock (or other heavier paper)
– A glass
– A spray fixative (available from craft stores or even hair spray for a cheaper option)
What to do:
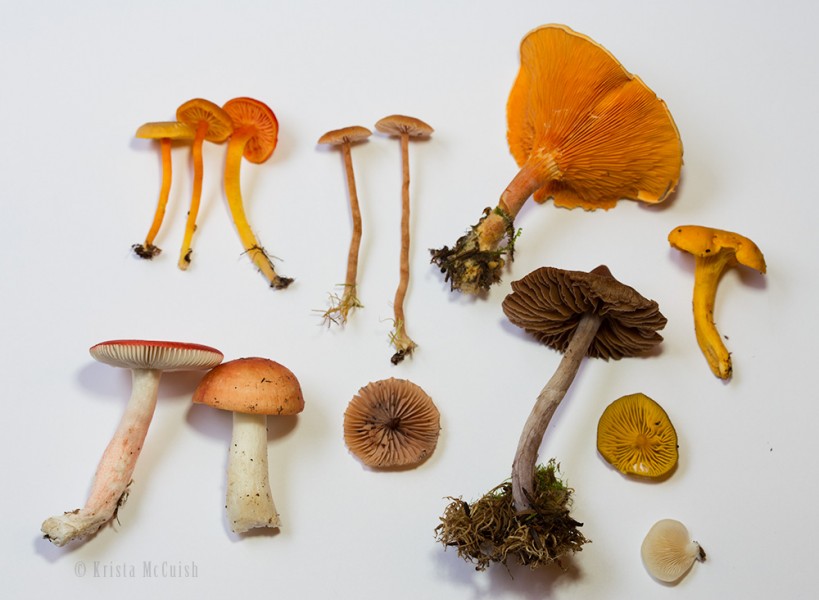
- Gather freshly collected mature mushrooms from your yard or a walk (be careful to collect ones that have distinct gills free of blemishes, sticky membranes, worms or dried edges.

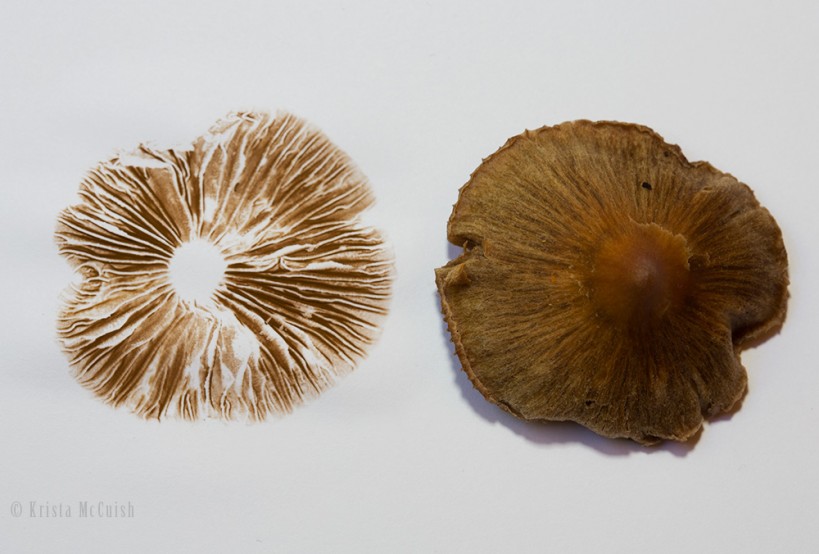
- Start with one mushroom and look to see if you can see any powdery surfaces on the gills. For example, a mushroom with brownish gills will often have brown spores visible on the gill surfaces. This will reveal a brown spore print, so you will use white paper to make a visible print. With white or light spore-producing mushrooms, you will use black paper. Sometimes this is trial and error. Usually, mushroom spores are plentiful so many prints can be made from one mushroom if you need to switch the color of the paper.
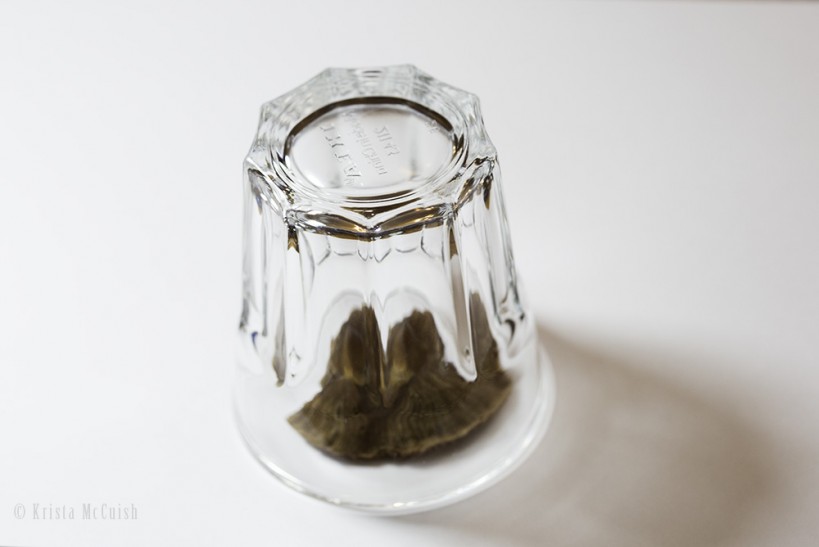
- Place mushroom gill side down on chosen paper and cover with a glass to keep spores in place. Leave undisturbed for several hours to overnight (for a denser print)
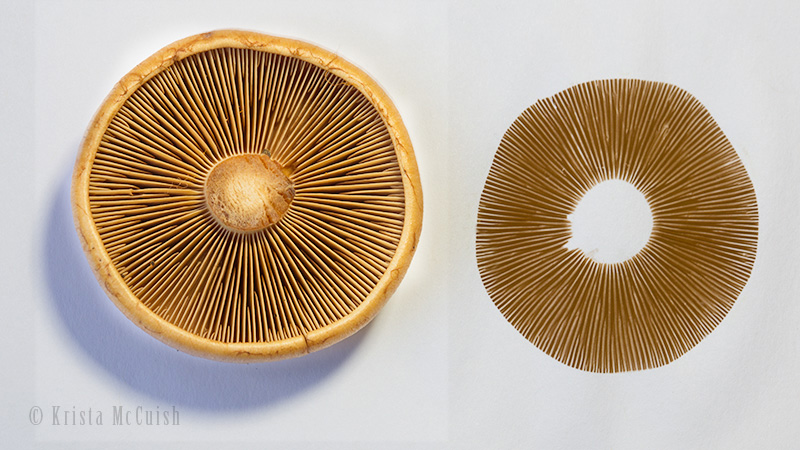
- Remove the glass and carefully lift the cap off of the paper. Look at your new mushroom art project and marvel at it!
- The mushroom spore print will be fragile and powdery. To preserve it, spray with 2-3 coats of spray fixative. This requires patience and practice since sometimes spraying can blur the edge of the print depending how much pressure is used.
This can be a very addictive process with pleasing results! Mushroom spore prints can be made into cards, framed wall art, and book covers, to name a few. If you want to get really fancy, turn your prints into a set of homemade postcards or pair with envelopes and tie a set of four with a ribbon to make an awesome gift everyone will love.
Resources
The ultimate guide to mushrooms, describing more that 2,000 species, is Mushrooms Demystified by David Arora.
Mushroom Expert is a very helpful website.
David Fischer’s American Mushrooms not only has an extensive photo gallery but guide recommendations as well.
The North American Mycological Association has a wealth of information including a list of associated clubs and access to teaching kits.
