Nature School Project: Snow Candles
This post was orginally written for our contributor blog Mud Puddles to Metoers. Pictures and words are by Kim Corrigan-Oliver.
What better way to celebrate the winter than to make “Snow Candles“? All you need is beeswax, some candle wick, popsicle sticks and some snow.
Begin by melting your beeswax. If you have never melted beeswax before I suggest using a mason jar that you don’t mind parting with or keeping for melting beeswax for future projects (you will never get all the beeswax off). Place beeswax in the jar, and place the jar in a pot of simmering water.
While the beeswax is melting prepare your wick by cutting to the desired length. Once the beeswax is melted dip the wick in and straighten. If you buy pre-waxed wick you can skip this step.
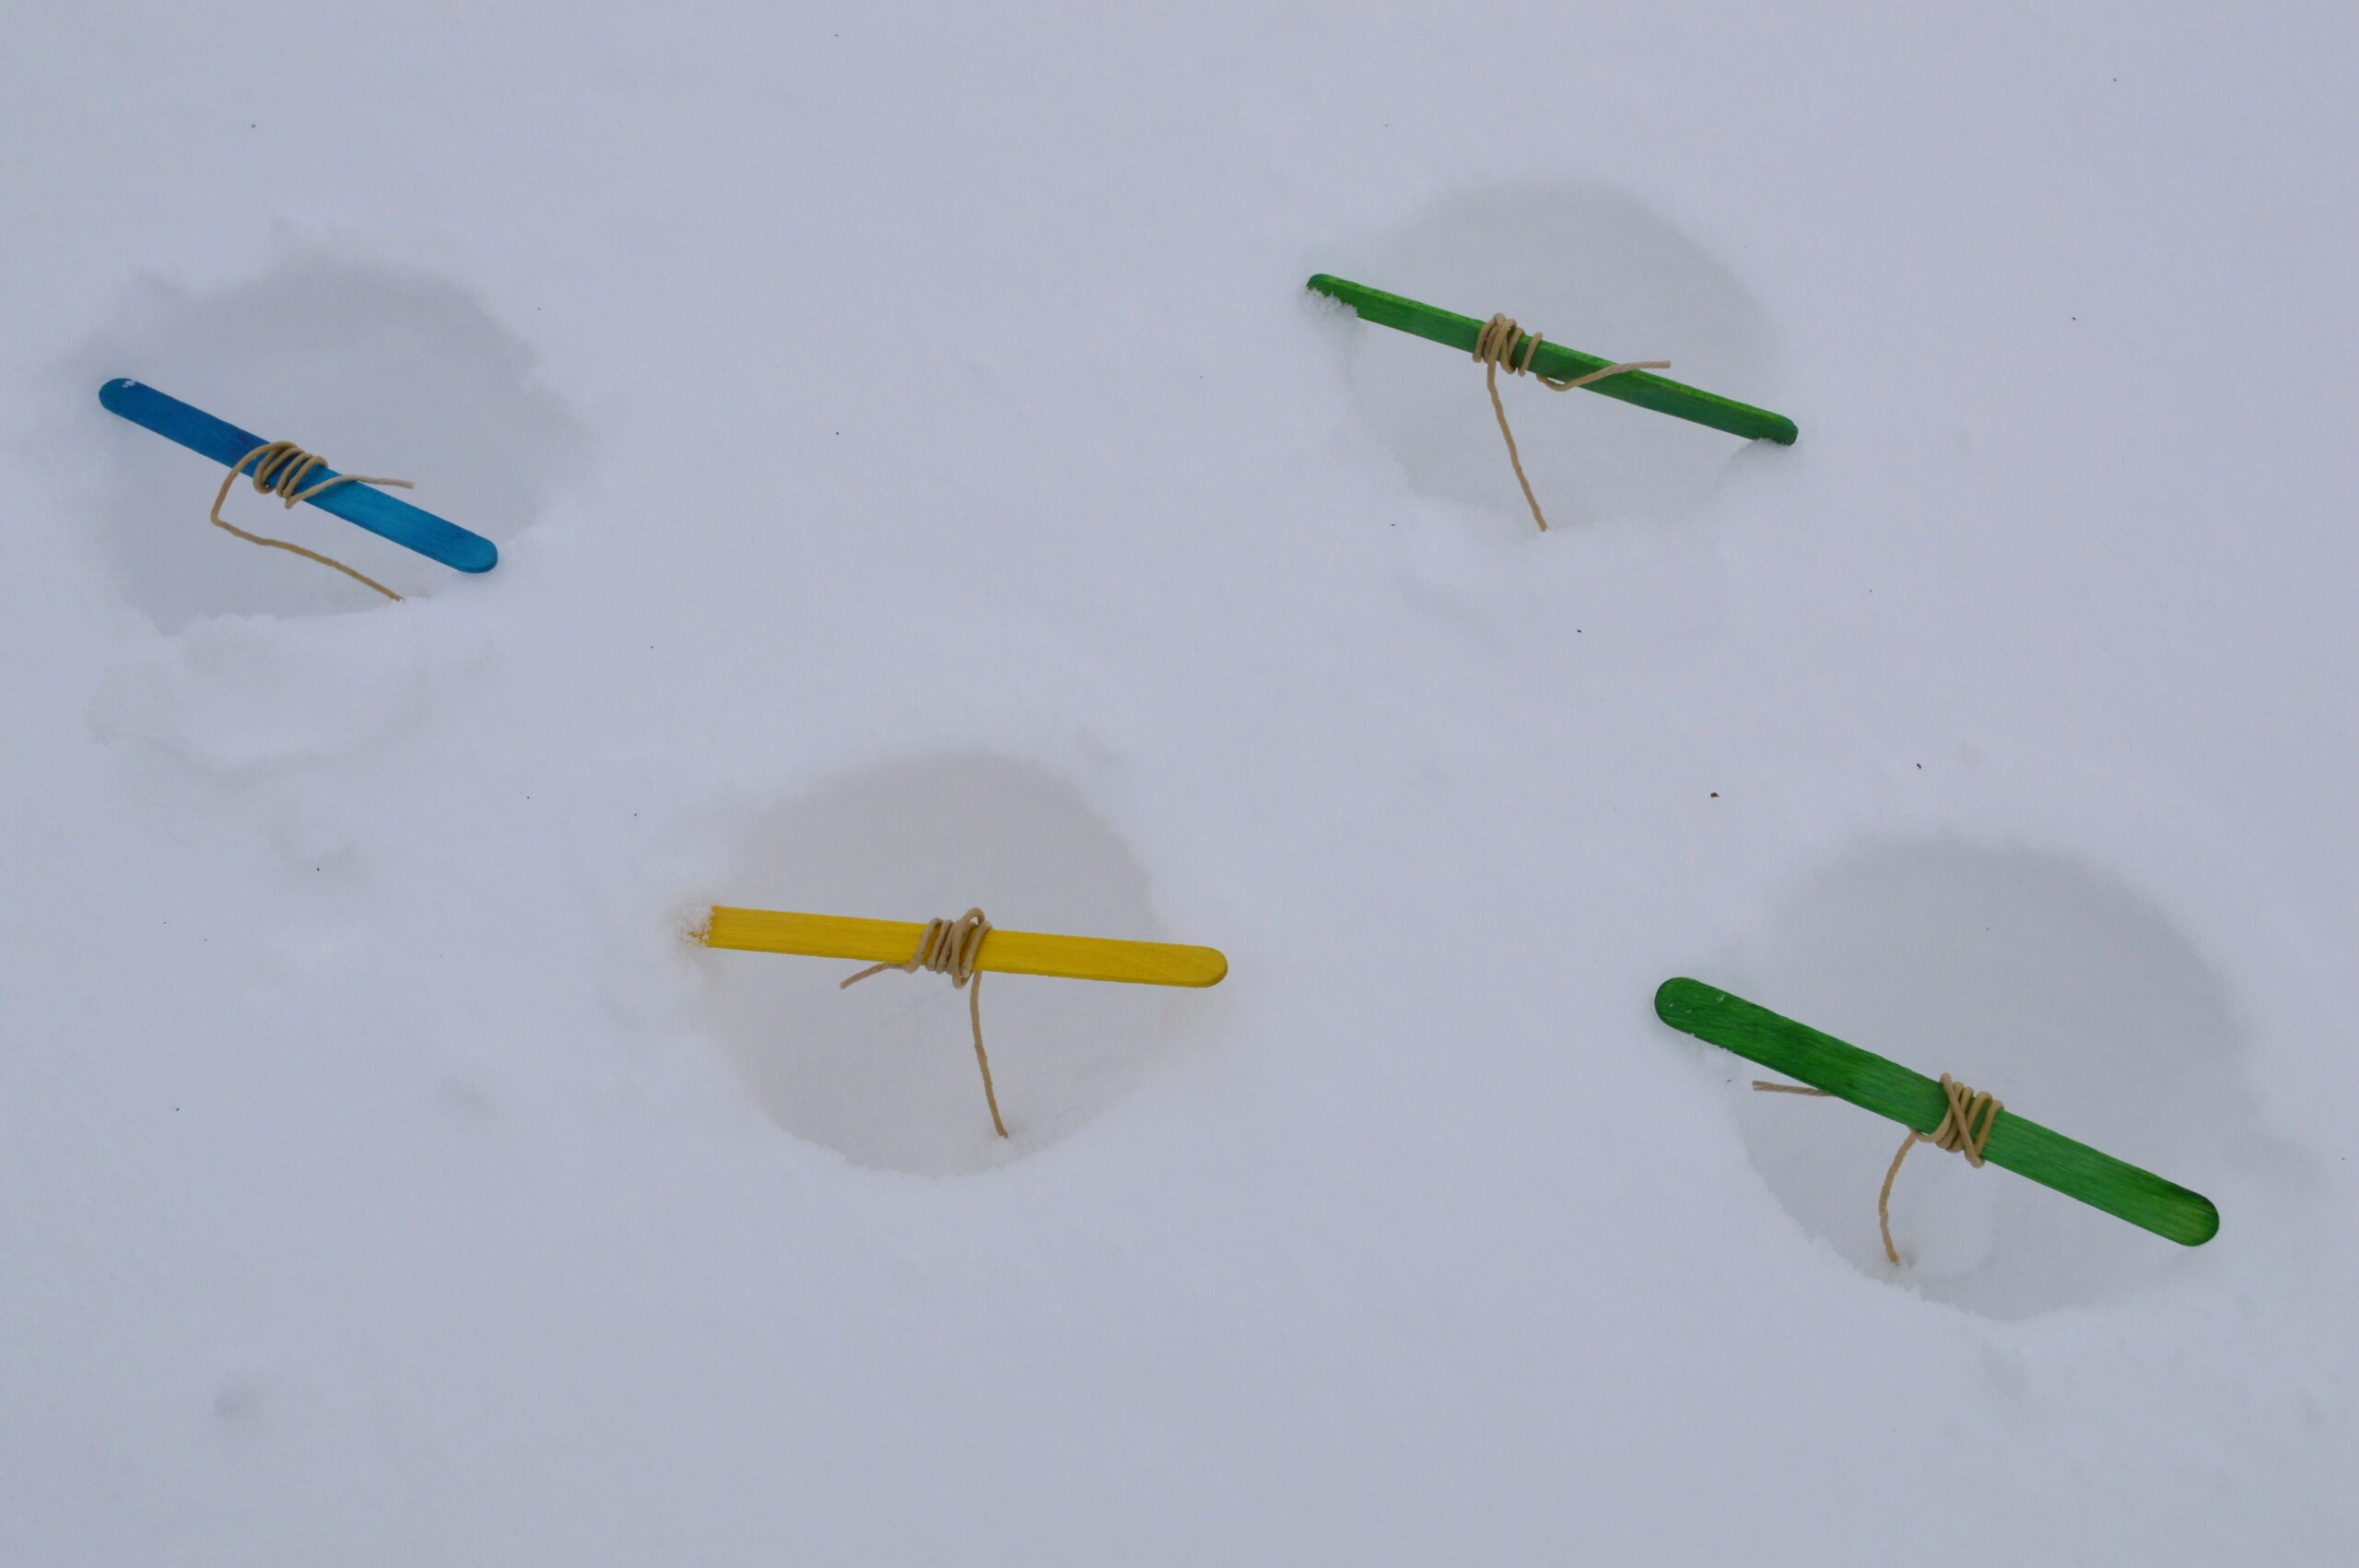
Wrap one end of the wick around a popsicle stick as shown in the photos.
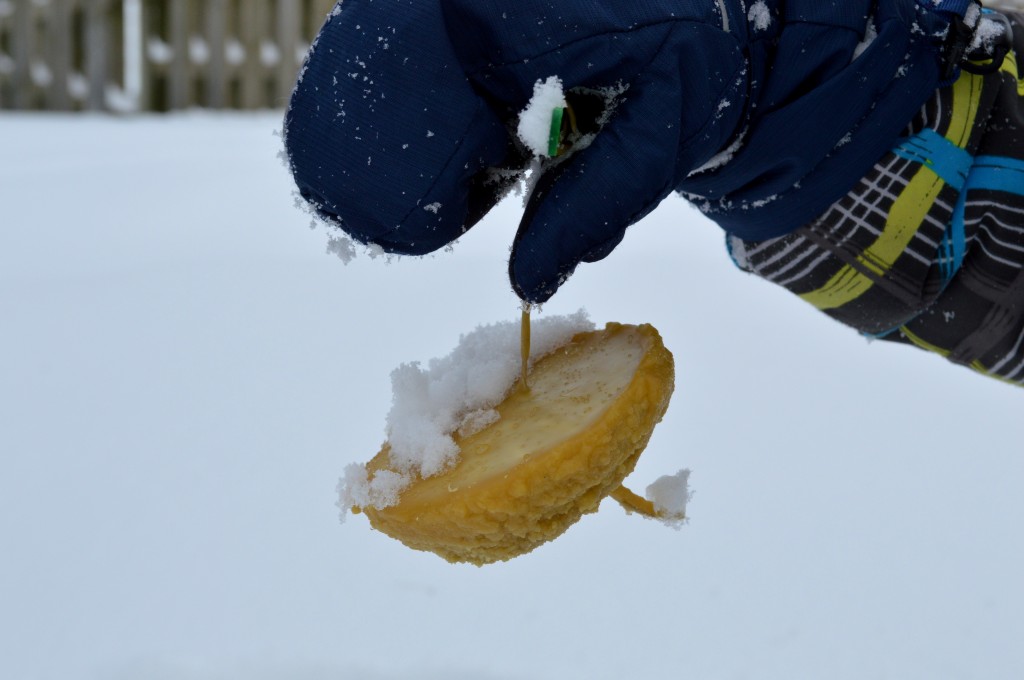
Now head outside with your wick and melted beeswax. Create your hole in the snow, we used a mason jar; place the wick into the center of the hole with the popsicle stick supporting the wick over the hole.
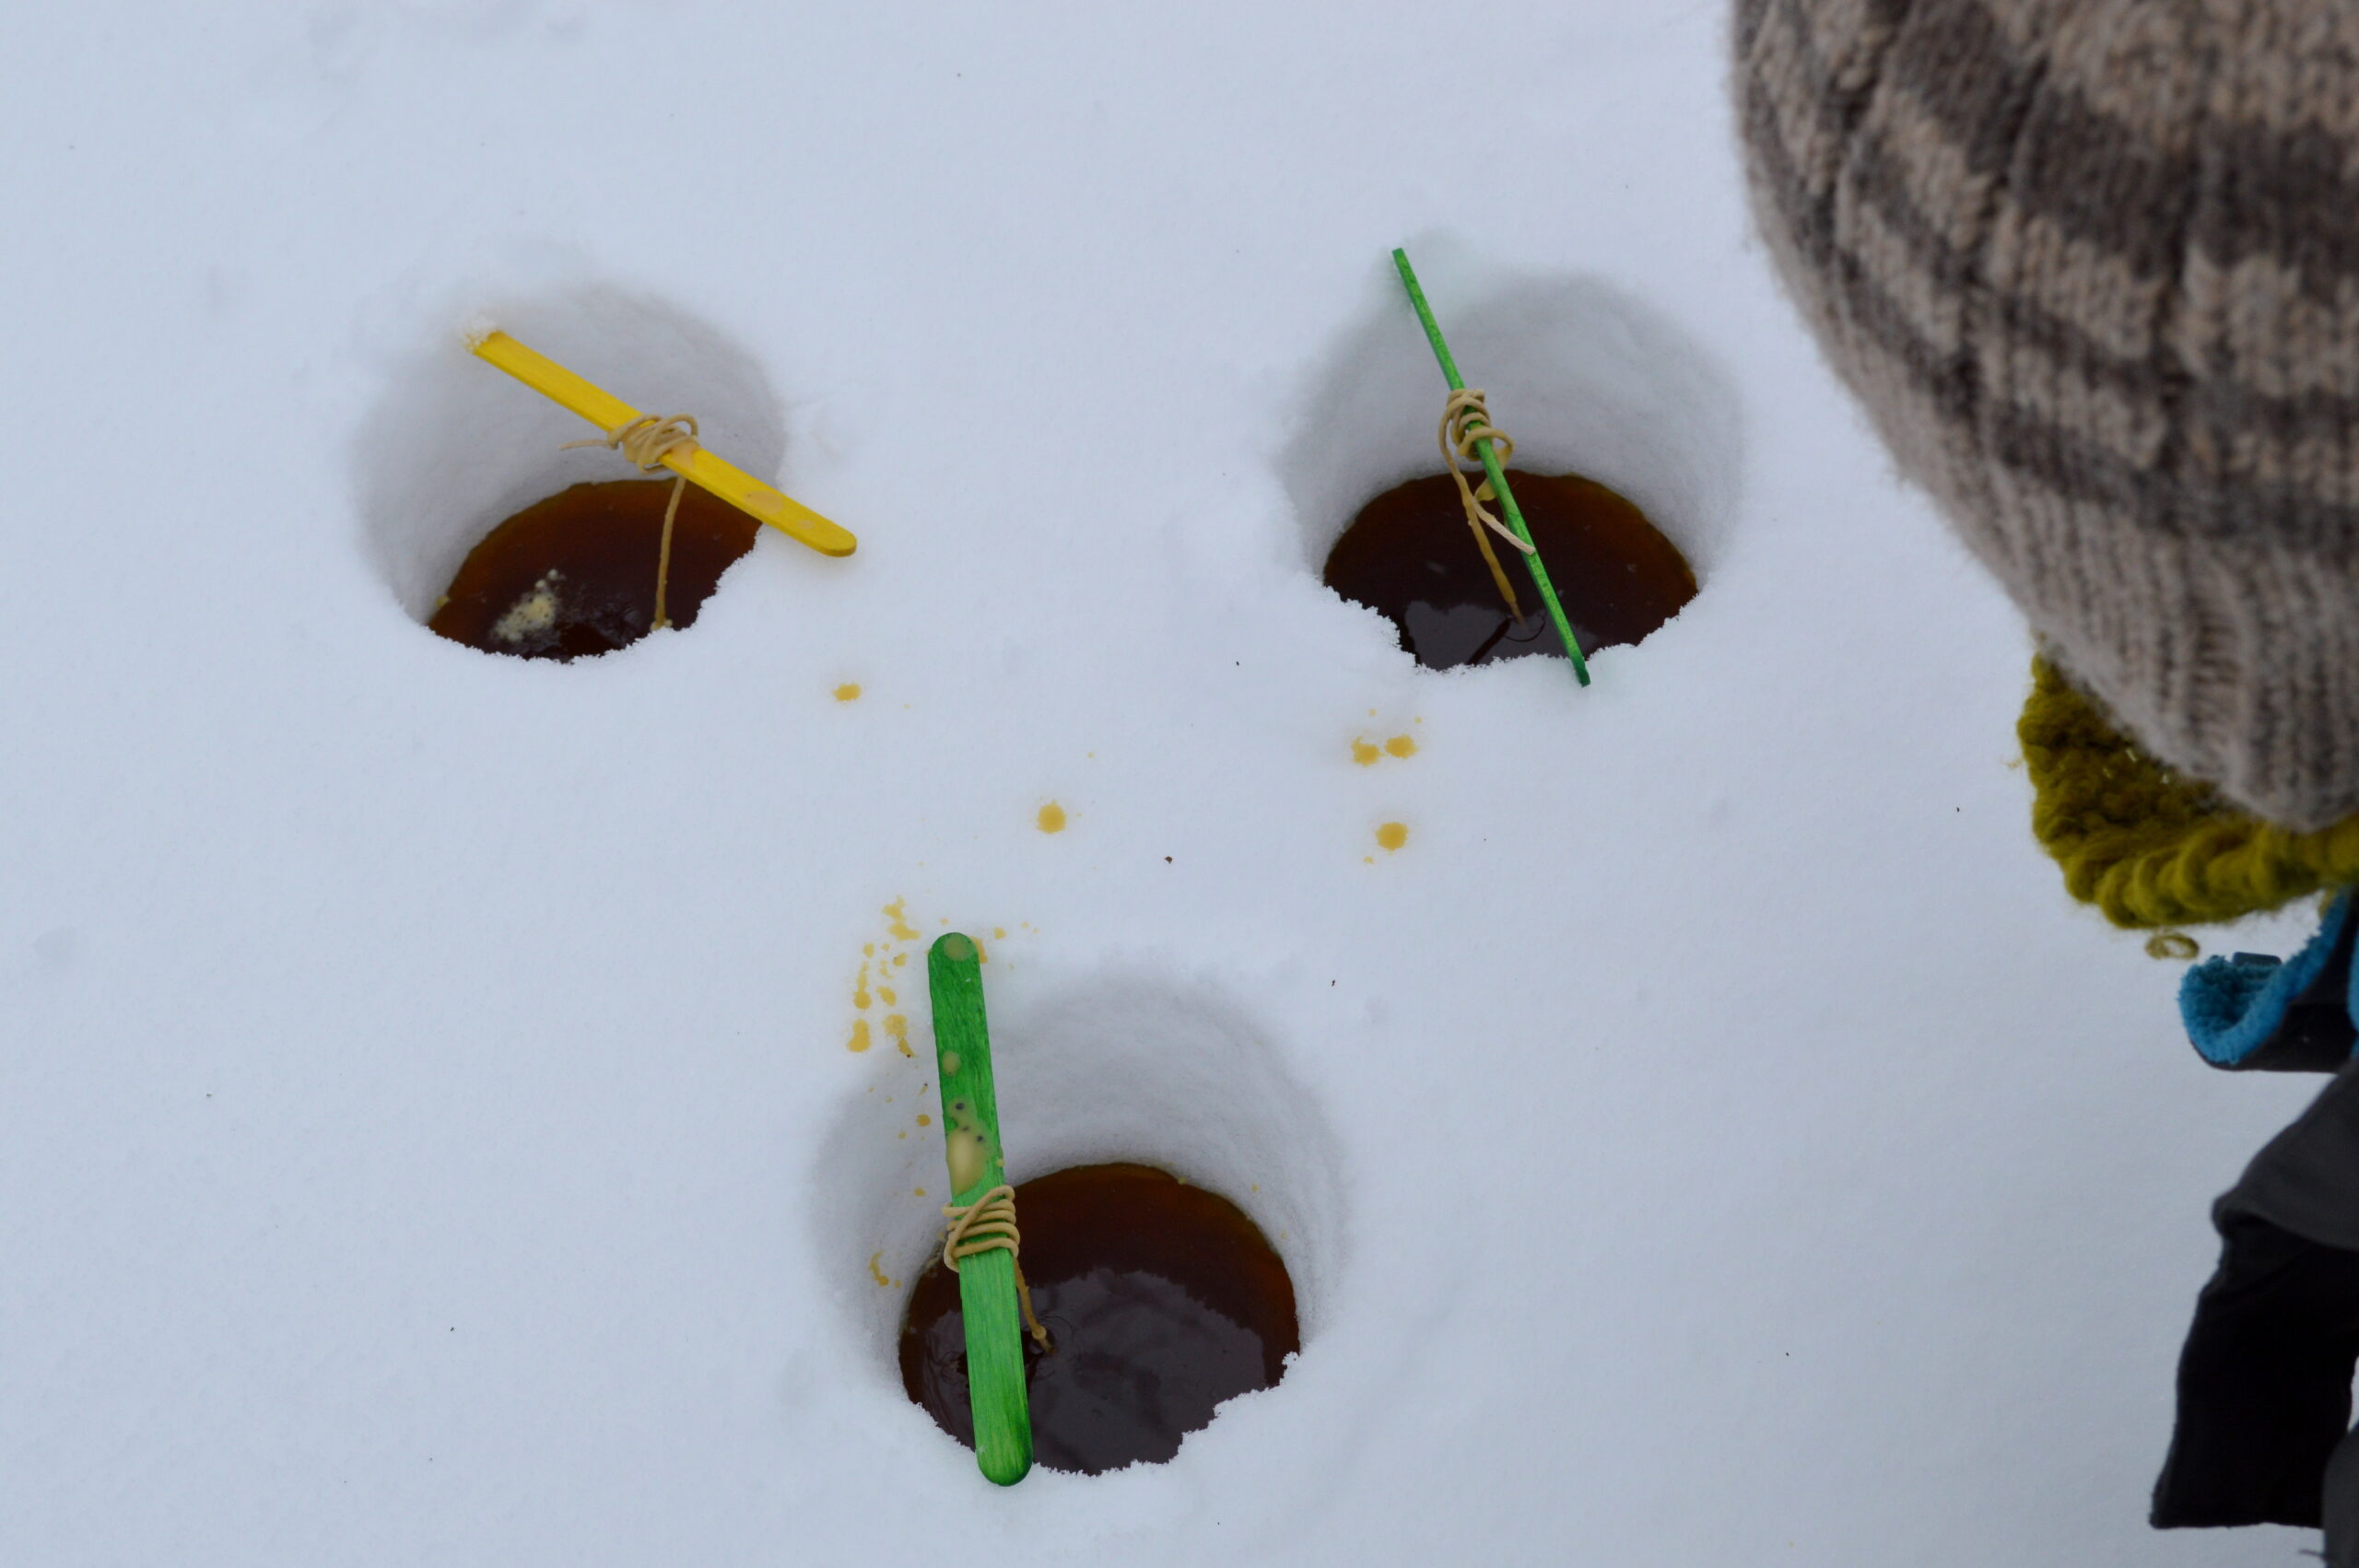
Slowly pour in your beeswax. Patiently wait for the wax to set, this will take 5 to 10 minutes, then gently pull your candle from the snow.
Each candle will be slightly different and add a lovely glow to your evening.
