Sparkle Craft: Halloween Special – Pillowcase Cross-Body Trick-or-Treat Bag
The By Thistle By Thimble story “Halloween Wonder” centers around a very particular three-story house that is the center of a sweet little town’s annual Halloween celebration. Each year, the mysterious couple that lives there transforms their wrap-around porch into something new and fantastical and wows the entire town. The neighbors talk about it all year long!
Eight-year-old Margaret is new to town and she can’t wait to see the house. When she finally does, she is inspired to do something that is at once surprising and gracious. It changes the town’s Halloween tradition forever.

Is there a house like that in your neighborhood? One that’s the place you simply cannot miss on Halloween night? One that’s so amazing that your kids almost drop their candy?
As all parents know, there is nothing that crushes the spirit of Halloween more than accidentally spilling a whole bag of candy. But, never fear, this week’s craft will let your littles take in the wonder of Halloween while keeping their candy secure.
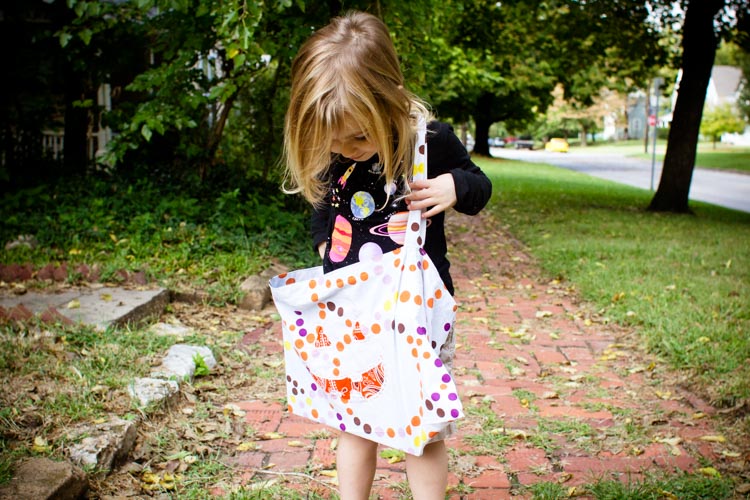
This cross-body trick-or-treat bag takes its inspiration from the pillowcases you may have used of yore but has a handy added design feature — a cross-body strap — that makes it easy to drop candy into the bag but hard to drop the whole thing on the sidewalk. Add in a sweet reverse appliqué jack-o’-lantern face and your kiddo will be all set to enjoy the wonders of Halloween.
Pillowcase Cross-Body Trick-Or-Treat Bag
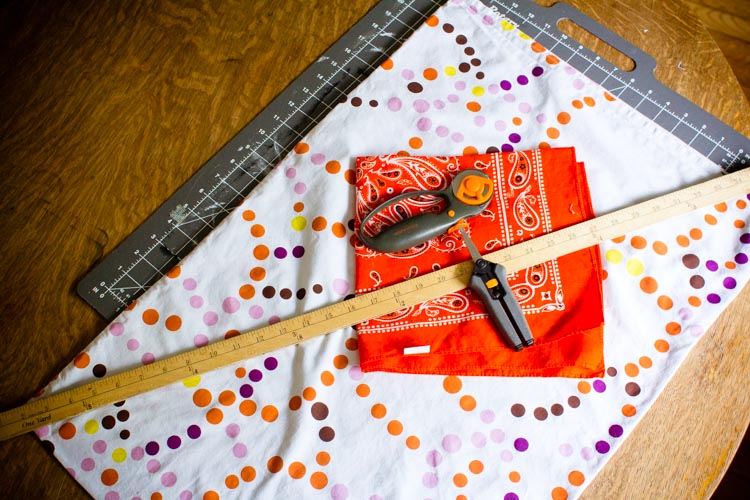
Materials
1 old pillowcase
Cutting mat
Ruler
Rotary cutter
Iron
Small piece (roughly 10-inches square) of contrasting fabric
Marker
Embroidery floss
Basic sewing supplies and/or a sewing machine
Chopstick or safety pin
Fabric glue (optional)
Directions

Begin by laying out your pillowcase on a cutting mat. Using the ruler and rotary cutter to make a straight line, cut the open end of the pillowcase off about 13 inches from the bottom of the pillowcase. Set the top of the pillowcase aside.
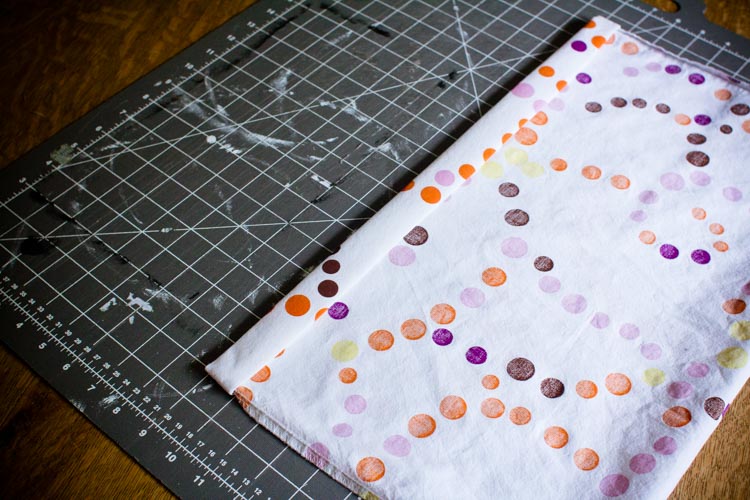
Working with the bottom of the pillowcase, fold the open end (where you have just cut) under 2 times to make a finished edge.
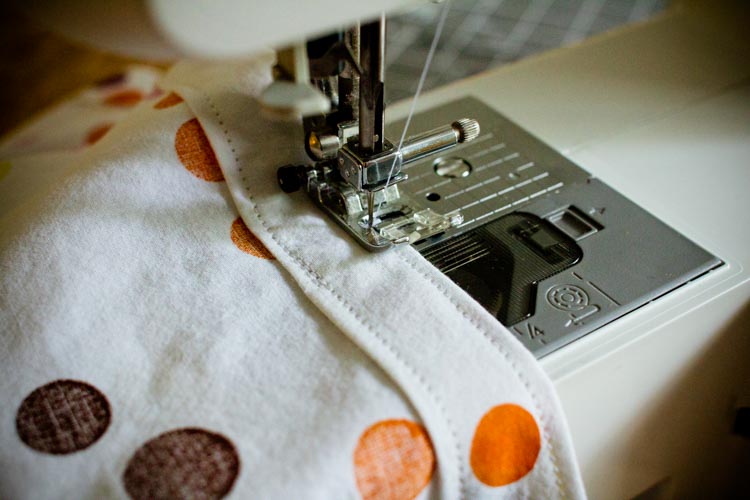
Press the folds down, then sew 2 straight lines — one at the top of the folded edge, one at the bottom of the folded edge — around the top of the pillowcase.
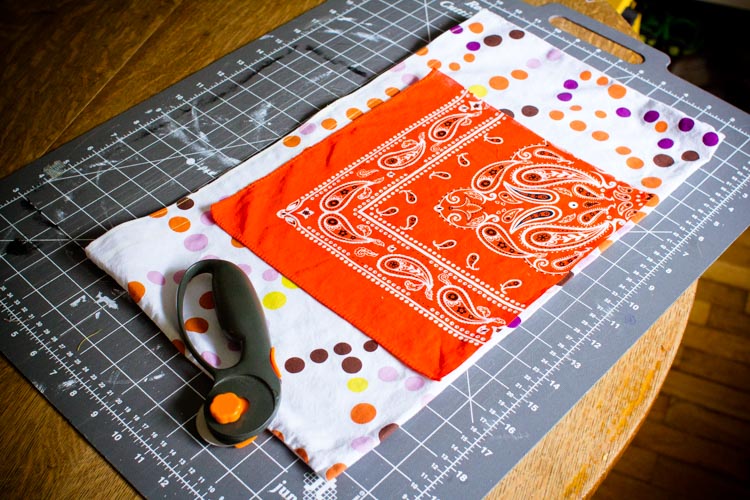
Lay the pillowcase out flat and cut the piece of contrasting fabric so that it fits on the front of the pillowcase.
Remove the scrap fabric from the bag and draw a simple picture on it with a marker. I decided to do a jack-o’-lantern face, but you could also do a plain pumpkin, a ghost, a piece of candy — whatever you think your child might like, as long as it can be done with simple shapes.
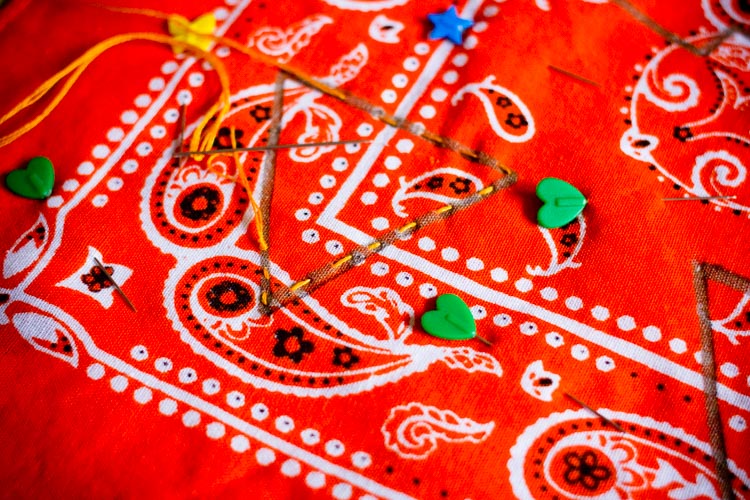
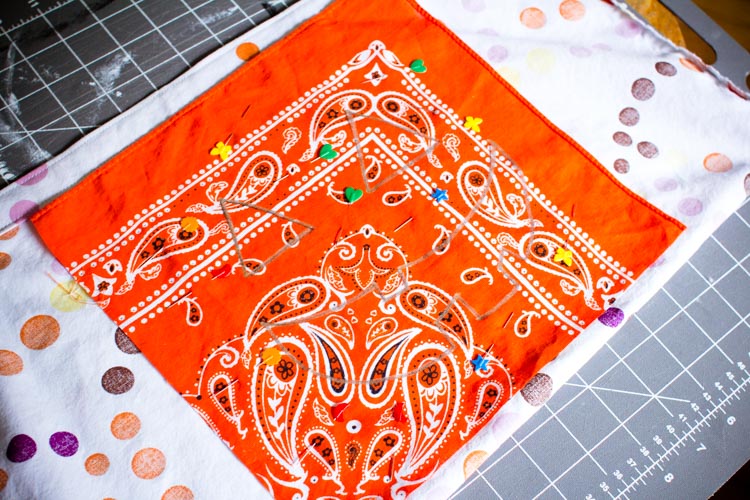
Now turn the pillowcase inside out and pin the scrap fabric to the front with the drawing facing out. Thread a needle with embroidery floss and stitch over the top of the lines you just drew, keeping your stitches as even and well-tensioned as possible.
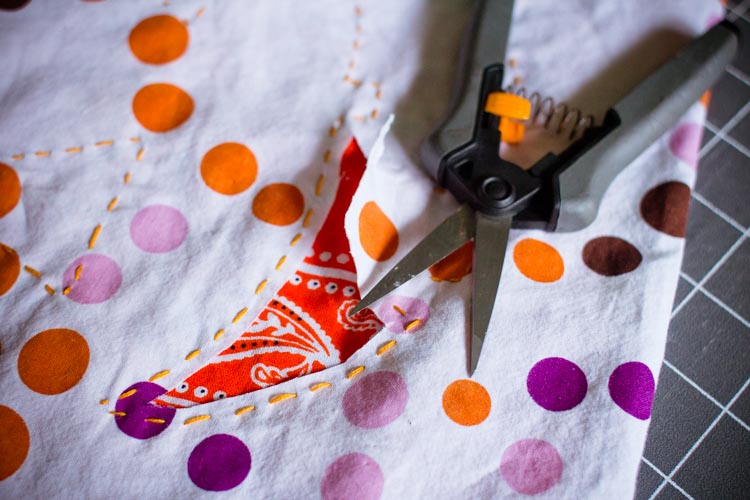
Once you’ve outlined the entire drawing, turn the pillowcase right-side out. Use a pair of sharp scissors to cut the pillowcase fabric that is inside the stitches, leaving the underlying scrap fabric intact. Don’t be in a hurry with this step. If you cut either the stitching or the underlying fabric you will have to start over, so be careful and deliberate.
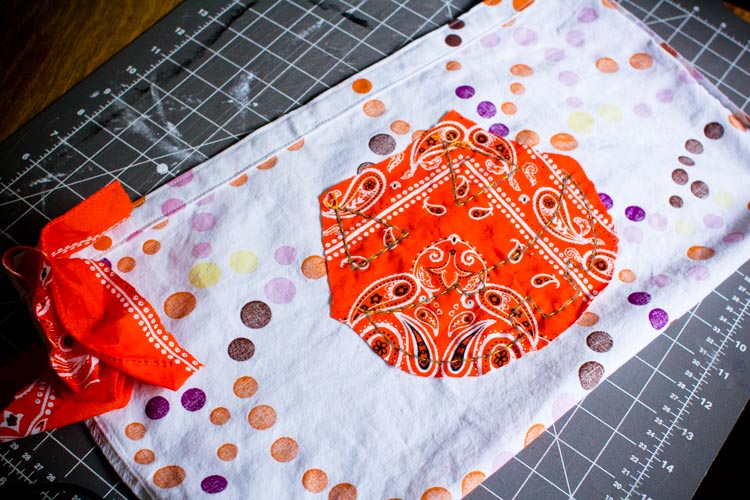
Once you’ve cut the shapes out on the front, turn the bag inside out and trim up the scrap fabric on the back. No need to be perfect here, just do enough to avoid having extra fabric flapping around in the bag. It’s optional, but I used a few dots of fabric glue on the corners of my design to help it stay extra-secure.
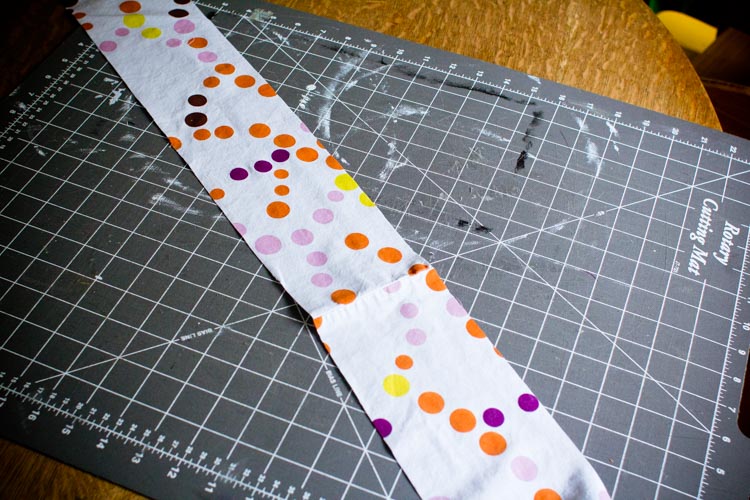
When you’re done with that, set the bottom part aside and return to the top of the pillowcase to make a strap. Again, using the ruler and rotary cutter, cut a strip of fabric about 4 inches wide. Cut off the hem on one side of the strip to open it up to make a long strip.
Fold the strip in half on the long side with the right sides of the fabric together. Press it neatly, then sew a straight stitch up the long, open side to make a tube.
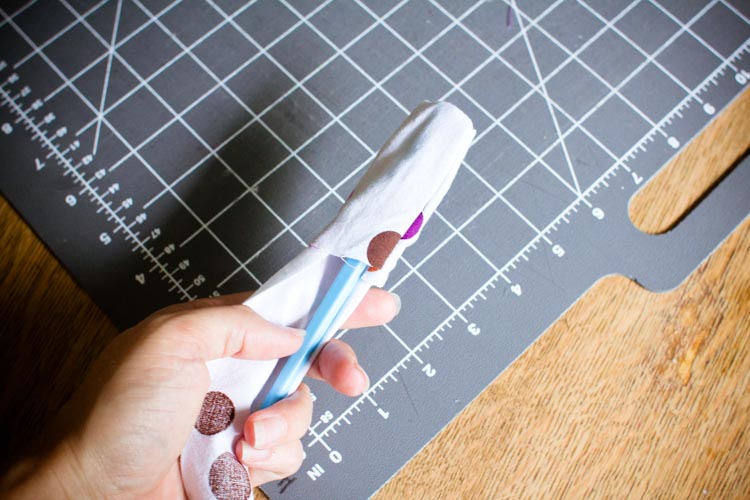
Use a chopstick or a safety pin to turn the tube right-side out. Begin by turning one end of the tube right side out, then use a chopstick to poke into the turned fabric.Slide the fabric down the chopstick. Continuing poking and turning until the fabric is right side out. Alternatively, attach a safety pin to one end of the tube. Push the pin down into the tube, working the fabric as you do to turn the end of the tube right side out. Then, use your finger to slide the safety pin down the inside of the tube, scrunching the fabric as you go. Once you’ve got as much scrunched fabric as you can gathered around the safety pin, hold the pin tight and pull the fabric straight. Repeat until the full tube is right-side out.
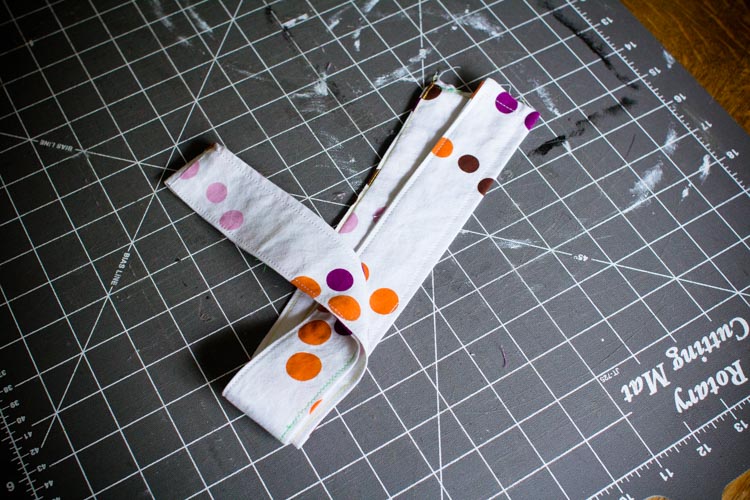
Press the strap again. Then sew a straight stitch around all 4 edges.
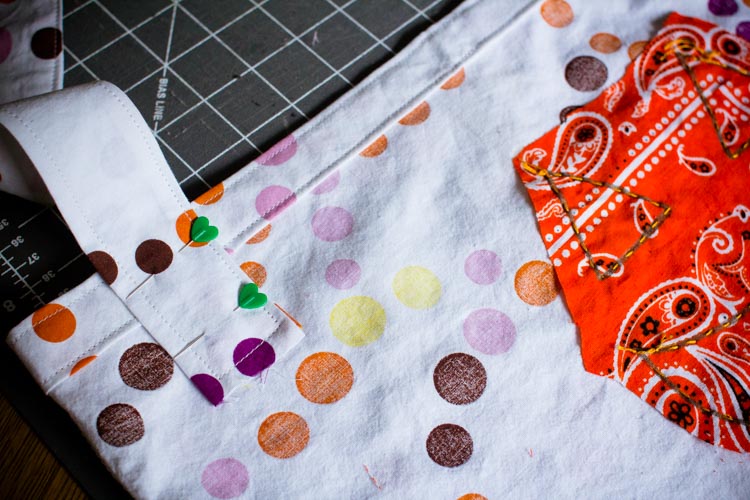
Next, pin the strap to the inside of the bag. Put one end of the strap on the front right side of the bag. Put the other end of the strap on the back left side of the bag.
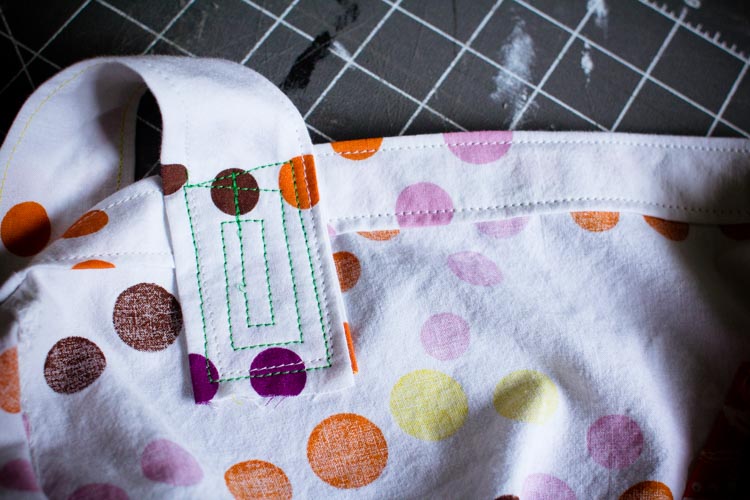
Then sew the ends of the strap in place, going over them several times to make sure they’re secure.

Congratulations — your new trick-or-treat bag is ready to go! If the strap is too long, you can tie a knot in the top to shorten it up a bit (and keep it adjustable for next year when your kiddo is taller). Happy trick-or-treating!
Not yet a subscriber? Try a free trial HERE.
About the authors
-

Meryl Carver-Allmond
Sparkle Kitchen & Craft BloggerThe Sparkle Kitchen Series is created by Meryl Carver-Allmond.
Meryl lives in a hundred-year-old house near the prairie with her sweet husband, two preschoolers, one puppy, one gecko, and about ten chickens. While she’s been writing since she could pick up a pen, in recent years she’s discovered the joy of photography, too. She feels lucky to be able to combine those skills, along with a third passion — showing people that cooking for themselves can be healthy and fun — in her Sparkle Kitchen posts.