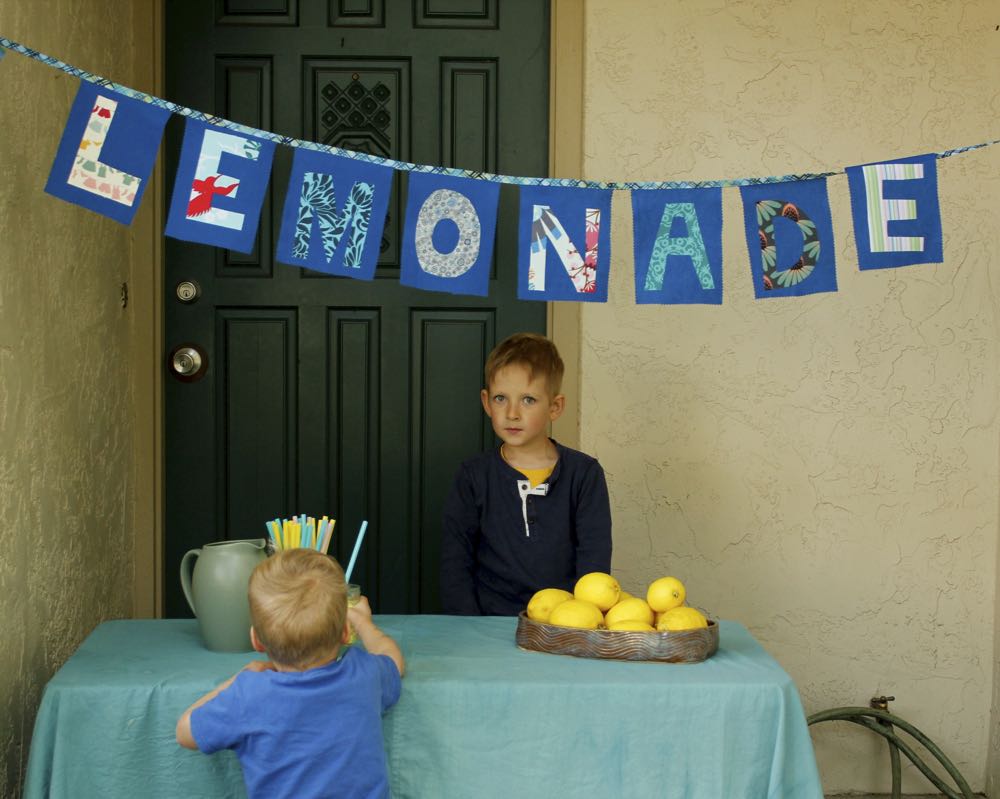
Sparkle Craft: Lemonade (or Mud Pie) Stand Bunting
In this week’s Martin & Sylvia: Saturdays! story, “Lemons and Mud”, Sylvia and Martin are inspired by the warm spring morning to set up their first lemonade stand of the season. There’s just one problem – no lemons!
No matter what type of stand you’re setting up, this festive bunting will be the icing on the cake. It’ll make your stand the most special one in town!
You Will Need
Solid Fabric Rectangles (about 6 inches by 8 inches each)
Contrasting Fabric Scraps (about 5 inches by 6 inches each)
Scissors
Pinking Shears
Pellon Fusible EZ-Steam
Iron
Bias Tape
Needles
Sewing Machine
What To Do
Start by gathering your fabric scraps and trimming them to size. You’ll need to iron each scrap so that they lay nice and flat. If you’re making the word “lemonade” you’ll need 8 solid fabric rectangles and 8 contrasting scraps. If you’re making a different word or words, adjust your numbers accordingly.
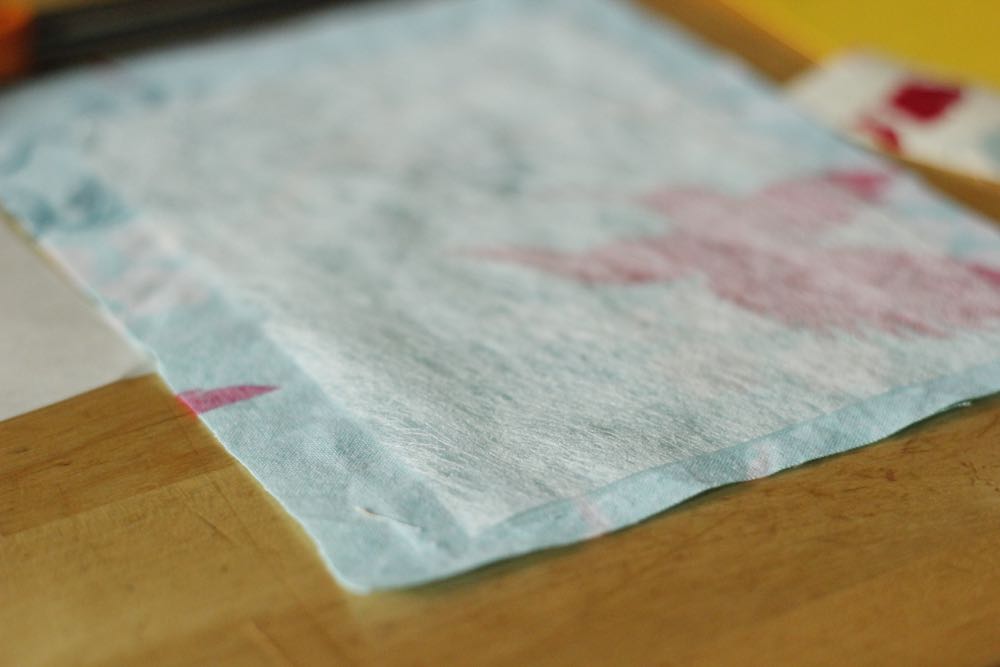
Cut your EZ-Steam to about the same size as your fabric scraps. Carefully peel away the paper backing and attach to the wrong side of your fabric. Do this for all the fabric scraps.
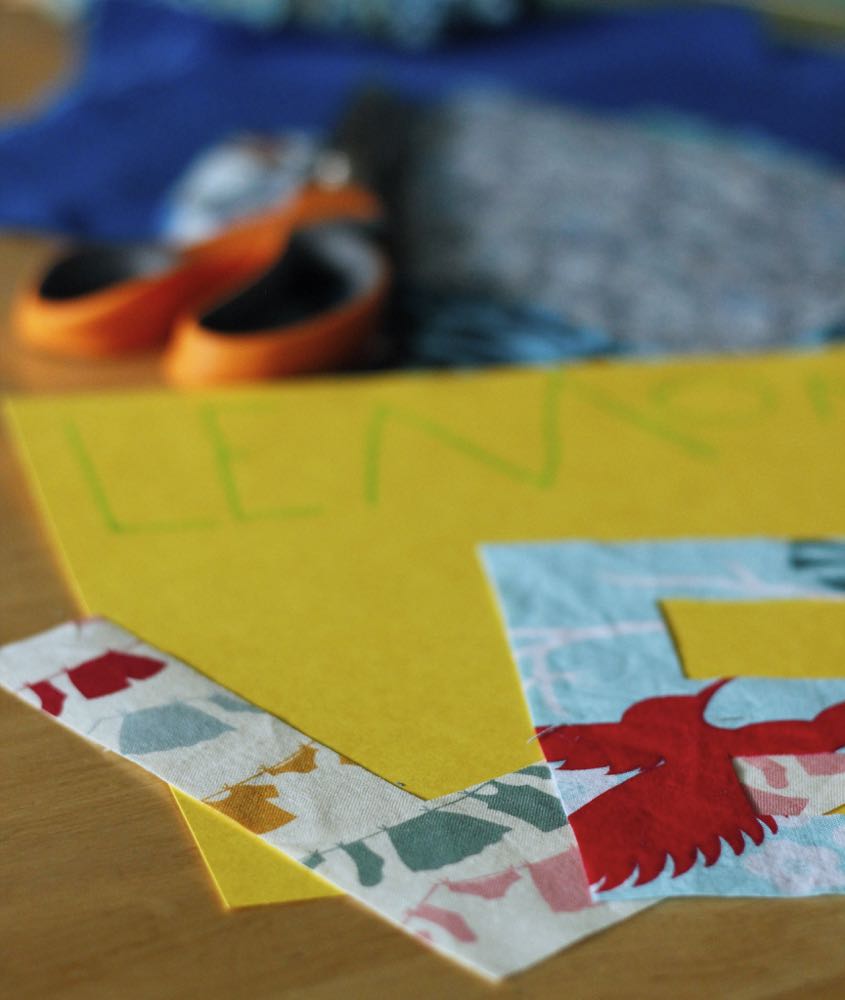
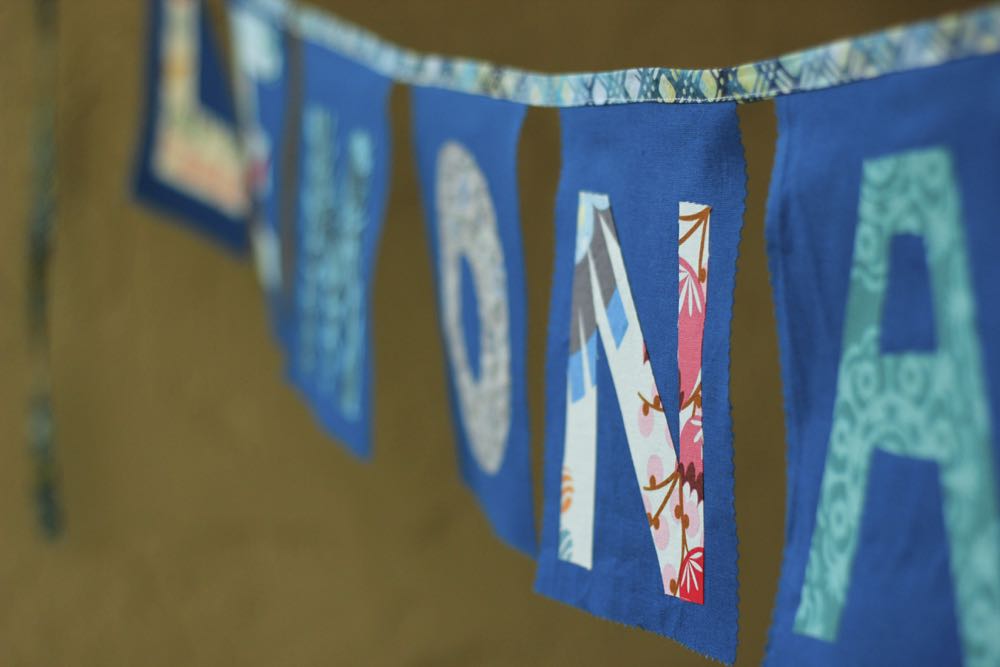
Using your scissors, cut out the letters needed to make the word or words for your bunting. Important: you’re cutting on the wrong side, so you’ll have to cut out the letters backwards!

Following the directions from the EZ Steam Package and using your iron, attach the letters to the solid fabric rectangles in the center.
With your pinking shears, trim three sides of the solid rectangle. Do not cut the top side of the rectangle.
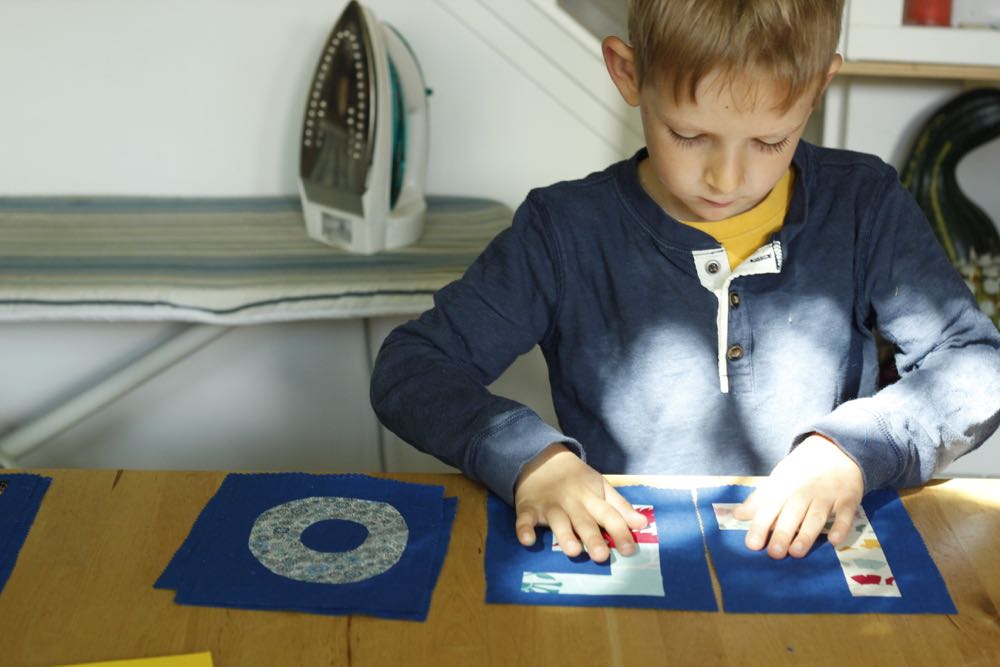
Lay out your letters, in order, on a flat table.
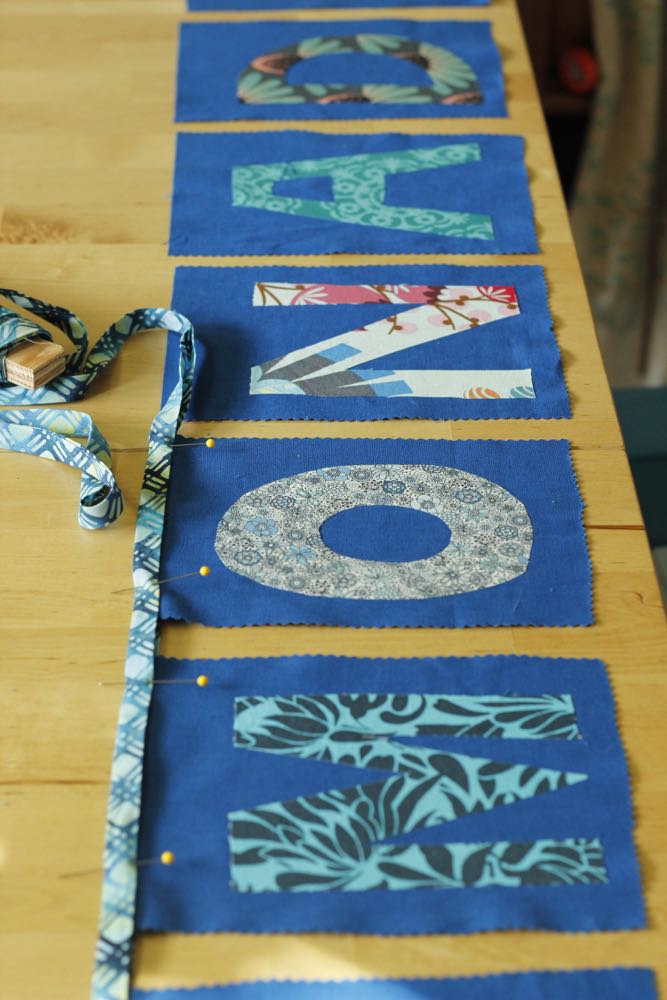
Leaving a 2-3 feet of a tail, insert each letter into the center of the bias binding, pinning in place.
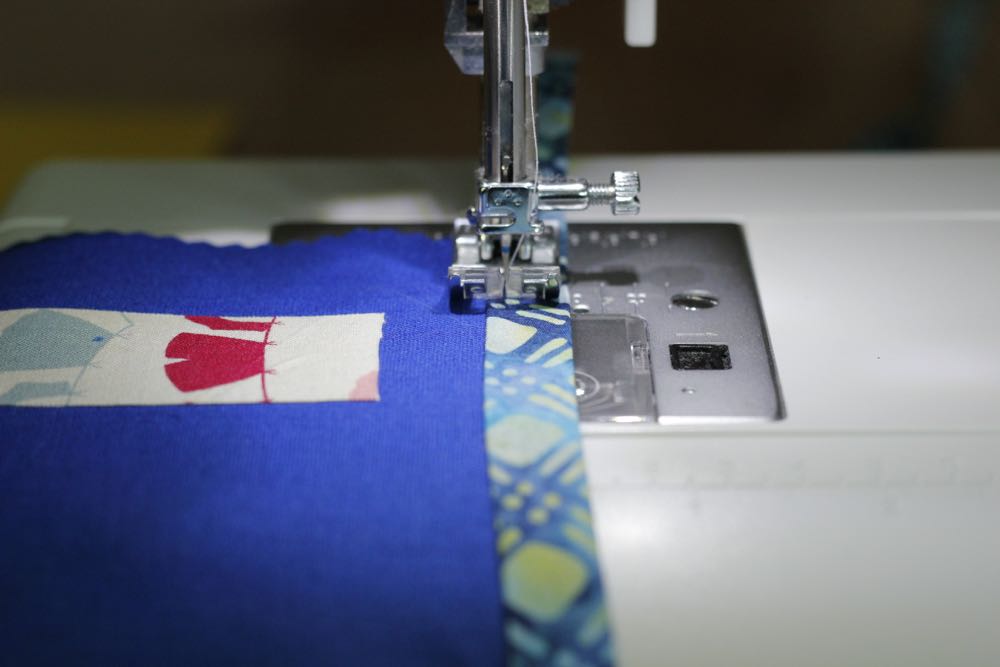
Once all the letters are attached, use your sewing machine to sew the bunting together. Starting at the very end of the bias binding, sew as close to the edge as you can. Each time you arrive at a letter, be sure that the top of the rectangle is completely enveloped in the bias binding.
Trim your thread ends and voila! You have a festive banner!
Explore More & Make Connections
Have you ever noticed a banner like the one you made? Where was it? What was it being used for?
Could you use these instructions to make a whole fabric alphabet?
About the authors
-

Andrea Folsom
Sparkle Crafts BloggerAndrea Folsom describes herself as a writer, editor, creative maker, and eternal optimist. She is passionate about learning and sharing new creative techniques, making beautiful spaces, and talking about the social-emotional benefits of creativity and art. She runs [Crafting Connections](http://www.craftingconnections.net/) – a website providing inspiration, practical advice, and projects for creative families – with her close friend Danielle Reiner.
-

Danielle Reiner
Sparkle Crafts BloggerDanielle Reiner describes herself as a creative, a maker, and a mama. At the heart of her story is creativity, though that hasn’t always been the case. She rediscovered her deeply hidden creativity early in adulthood – with a ball of yarn and a couple of knitting needles – and hasn’t stopped since. Danielle also runs [Crafting Connections](http://www.craftingconnections.net/) – a website providing inspiration, practical advice, and projects for creative families – with her close friend Andrea Folsom.
