Sparkle Craft: Milk Jug Lanterns
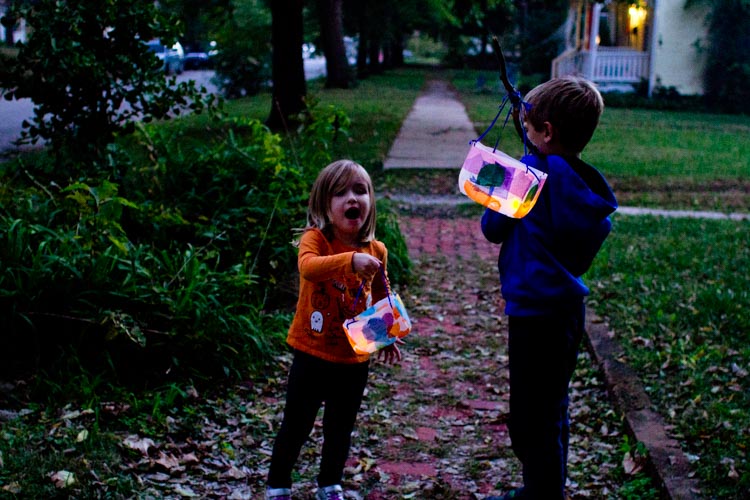
In the Martin & Sylvia: More Adventures! story “A Little Bit of Light,” we learn that every year — when the trees have all lost their leaves and the ground starts to frost in the morning — brother and sister start to make their lanterns for their annual lantern festival.
This year they can’t go their normal route and need to choose another place to walk. When Martin suggests going next door to visit the doctor’s house, Sylvia worries that it will be too dark. But the magic of the evening shows her just how much can be seen with the light of a single lantern.
Whether you already have a lantern walk tradition or would like to start one, a classic, tissue-paper-covered lantern is a project young and old will enjoy making and using.
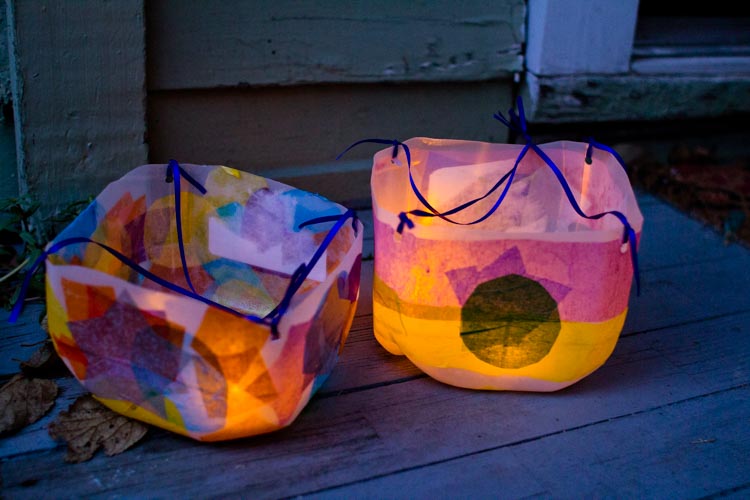
I love these because they’re impossible to mess up. No matter what colors you use or how many layers of tissue paper get stuck down, once a glowing light is placed inside the lantern, the light is always so beautiful.
I also love that the lanterns below are made from plastic milk jugs that would otherwise have to be thrown away. While I myself had to buy some tissue paper for this project, if you have a stash leftover from birthday parties or holidays, there is no reason you can’t re-use that, as well.
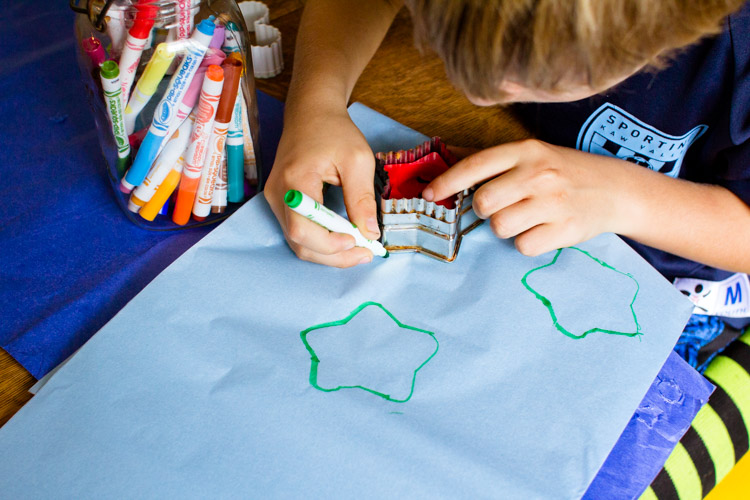
We used a combination of decorative punches, cookie cutters, and scissors to cut our tissue paper into shapes. If you go the decorative punch route, make sure the punches are really sharp so that they don’t rip the tissue paper. And if you don’t have sharp punches or spare cookie cutters, don’t despair — I think my kids liked using scissors as much as anything.
Whether you take part in an organized lantern walk in November or you just make these lanterns for an impromptu march around your block, I hope you get a little glow from the rainbows of light they create.
Milk Jug Lanterns__
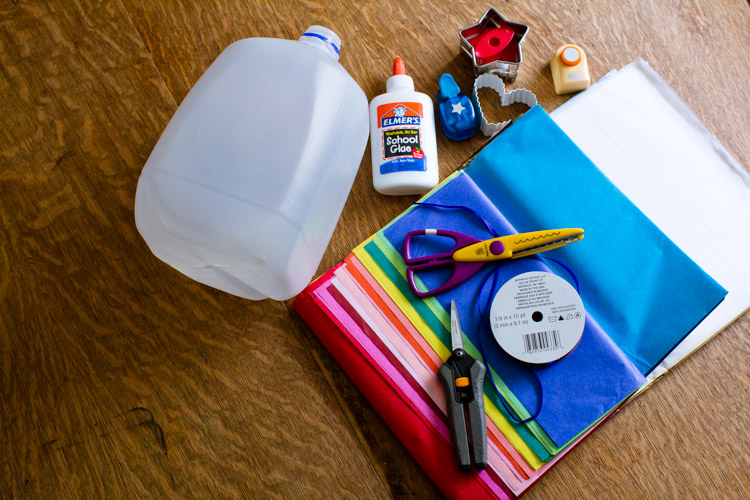
Materials
- Empty plastic milk jug
- Craft knife
- Scissors
- Decorative paper punches, hole punches, and/or cookie cutters
- Markers for tracing
- Tissue paper
- Glue
- Small container for mixing glue
- Paint brushes
- About 1½ yards thin ribbon
- Battery powered tea lights
Directions
Use a craft knife to cut the top off the milk jug, right below where the handle joins the main part of the jug. Recycle the top piece and turn your attention to the bottom.

Using scissors, decorative punches, or cookie cutters, trace and cut small shapes out of the tissue paper.
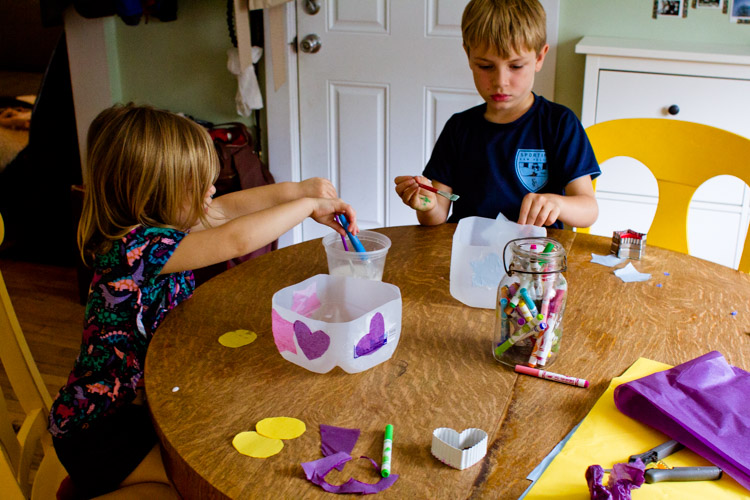
In a small container, thin the glue with a bit of water — about 1 part water to 2 parts glue will do the trick — and use a paintbrush to paste the tissue paper shapes to the milk jug bottom.

Keep at it until the milk jug is mostly covered with tissue paper. The more shapes and colors you layer on, the more beautiful the lantern will be. Once the milk jug is covered, leave it to dry for several hours.
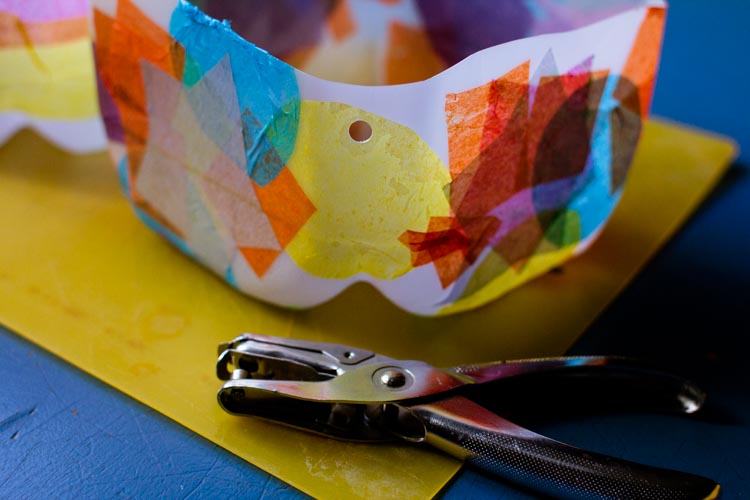
Next, use a hole punch to make one hole in each of the top four corners of the milk jug. Cut the ribbon into four equal pieces and tie one to the milk jug through each hole.
Tie the other ends of the ribbon together in the middle to make a handle.
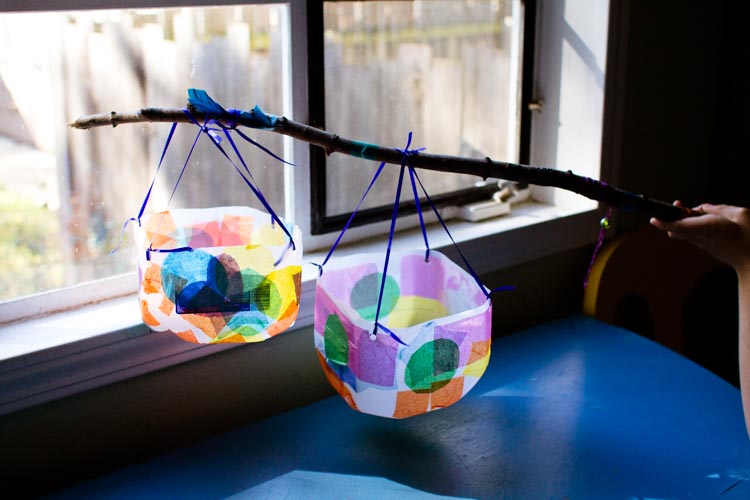
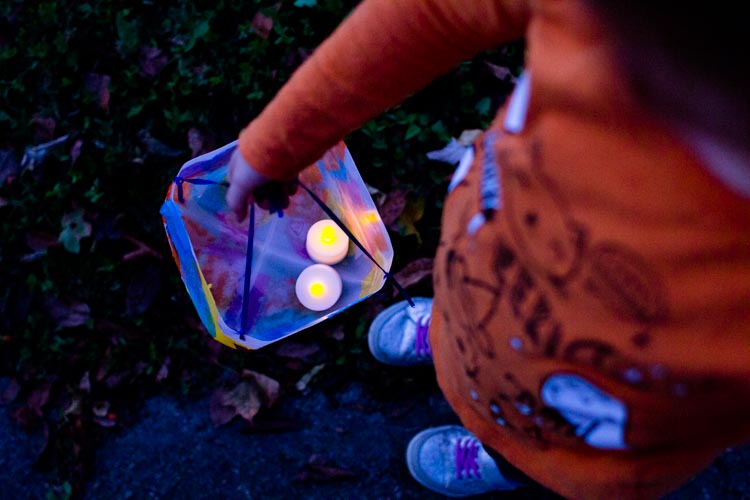
Now wait for the sun to set and the designated hour for your lantern walk to arrive. Add a battery powered candle or two to each lantern and have fun spreading beautiful light.
If you liked this tutorial, here are others you might enjoy:
Not yet a subscriber? Try a free trial HERE.
About the authors
-

Meryl Carver-Allmond
Sparkle Kitchen & Craft BloggerThe Sparkle Kitchen Series is created by Meryl Carver-Allmond.
Meryl lives in a hundred-year-old house near the prairie with her sweet husband, two preschoolers, one puppy, one gecko, and about ten chickens. While she’s been writing since she could pick up a pen, in recent years she’s discovered the joy of photography, too. She feels lucky to be able to combine those skills, along with a third passion — showing people that cooking for themselves can be healthy and fun — in her Sparkle Kitchen posts.
