Sparkle Crafts: Homemade Clay Charms
In this week’s Martin & Sylvia: More Adventures story “The Necklace,” the siblings learn about their mother’s special necklace and the significance of the charms on it.
They then set about making a set of charms for each other, each one representing something special about them or their favorite things.
After hearing the story, we decided to make some charms of our own.
The only problem was that a weekend of feverish sniffles had left us housebound with no choice but to make our baubles out of ingredients that were readily available in our own kitchen cupboards. A bit of messing around with a favorite gluten-free play clay recipe and we found ourselves with a set of charms that were easy to make, could be painted for color, and that turned out even better than we’d hoped.
Read on to find out how to craft a set of clay charms of your own. A perfect rainy day (or sick day) activity if ever there was one.
::
Homemade Clay Charms
Materials
½ cup cornstarch
1 cup baking soda
¾ cup water
chopstick or knitting needle
acrylic paints
paintbrushes
string
Directions
Begin by making the clay. Boil the water over medium heat and then whisk in the baking soda and cornstarch. Stir until dissolved. Then continue stirring, keeping the mixture from separating, until it begins to thicken. When the mixture is about the thickness of mashed potatoes, remove it from the heat. Turn the clay out onto a lightly oiled plate and allow it to cool before using it.
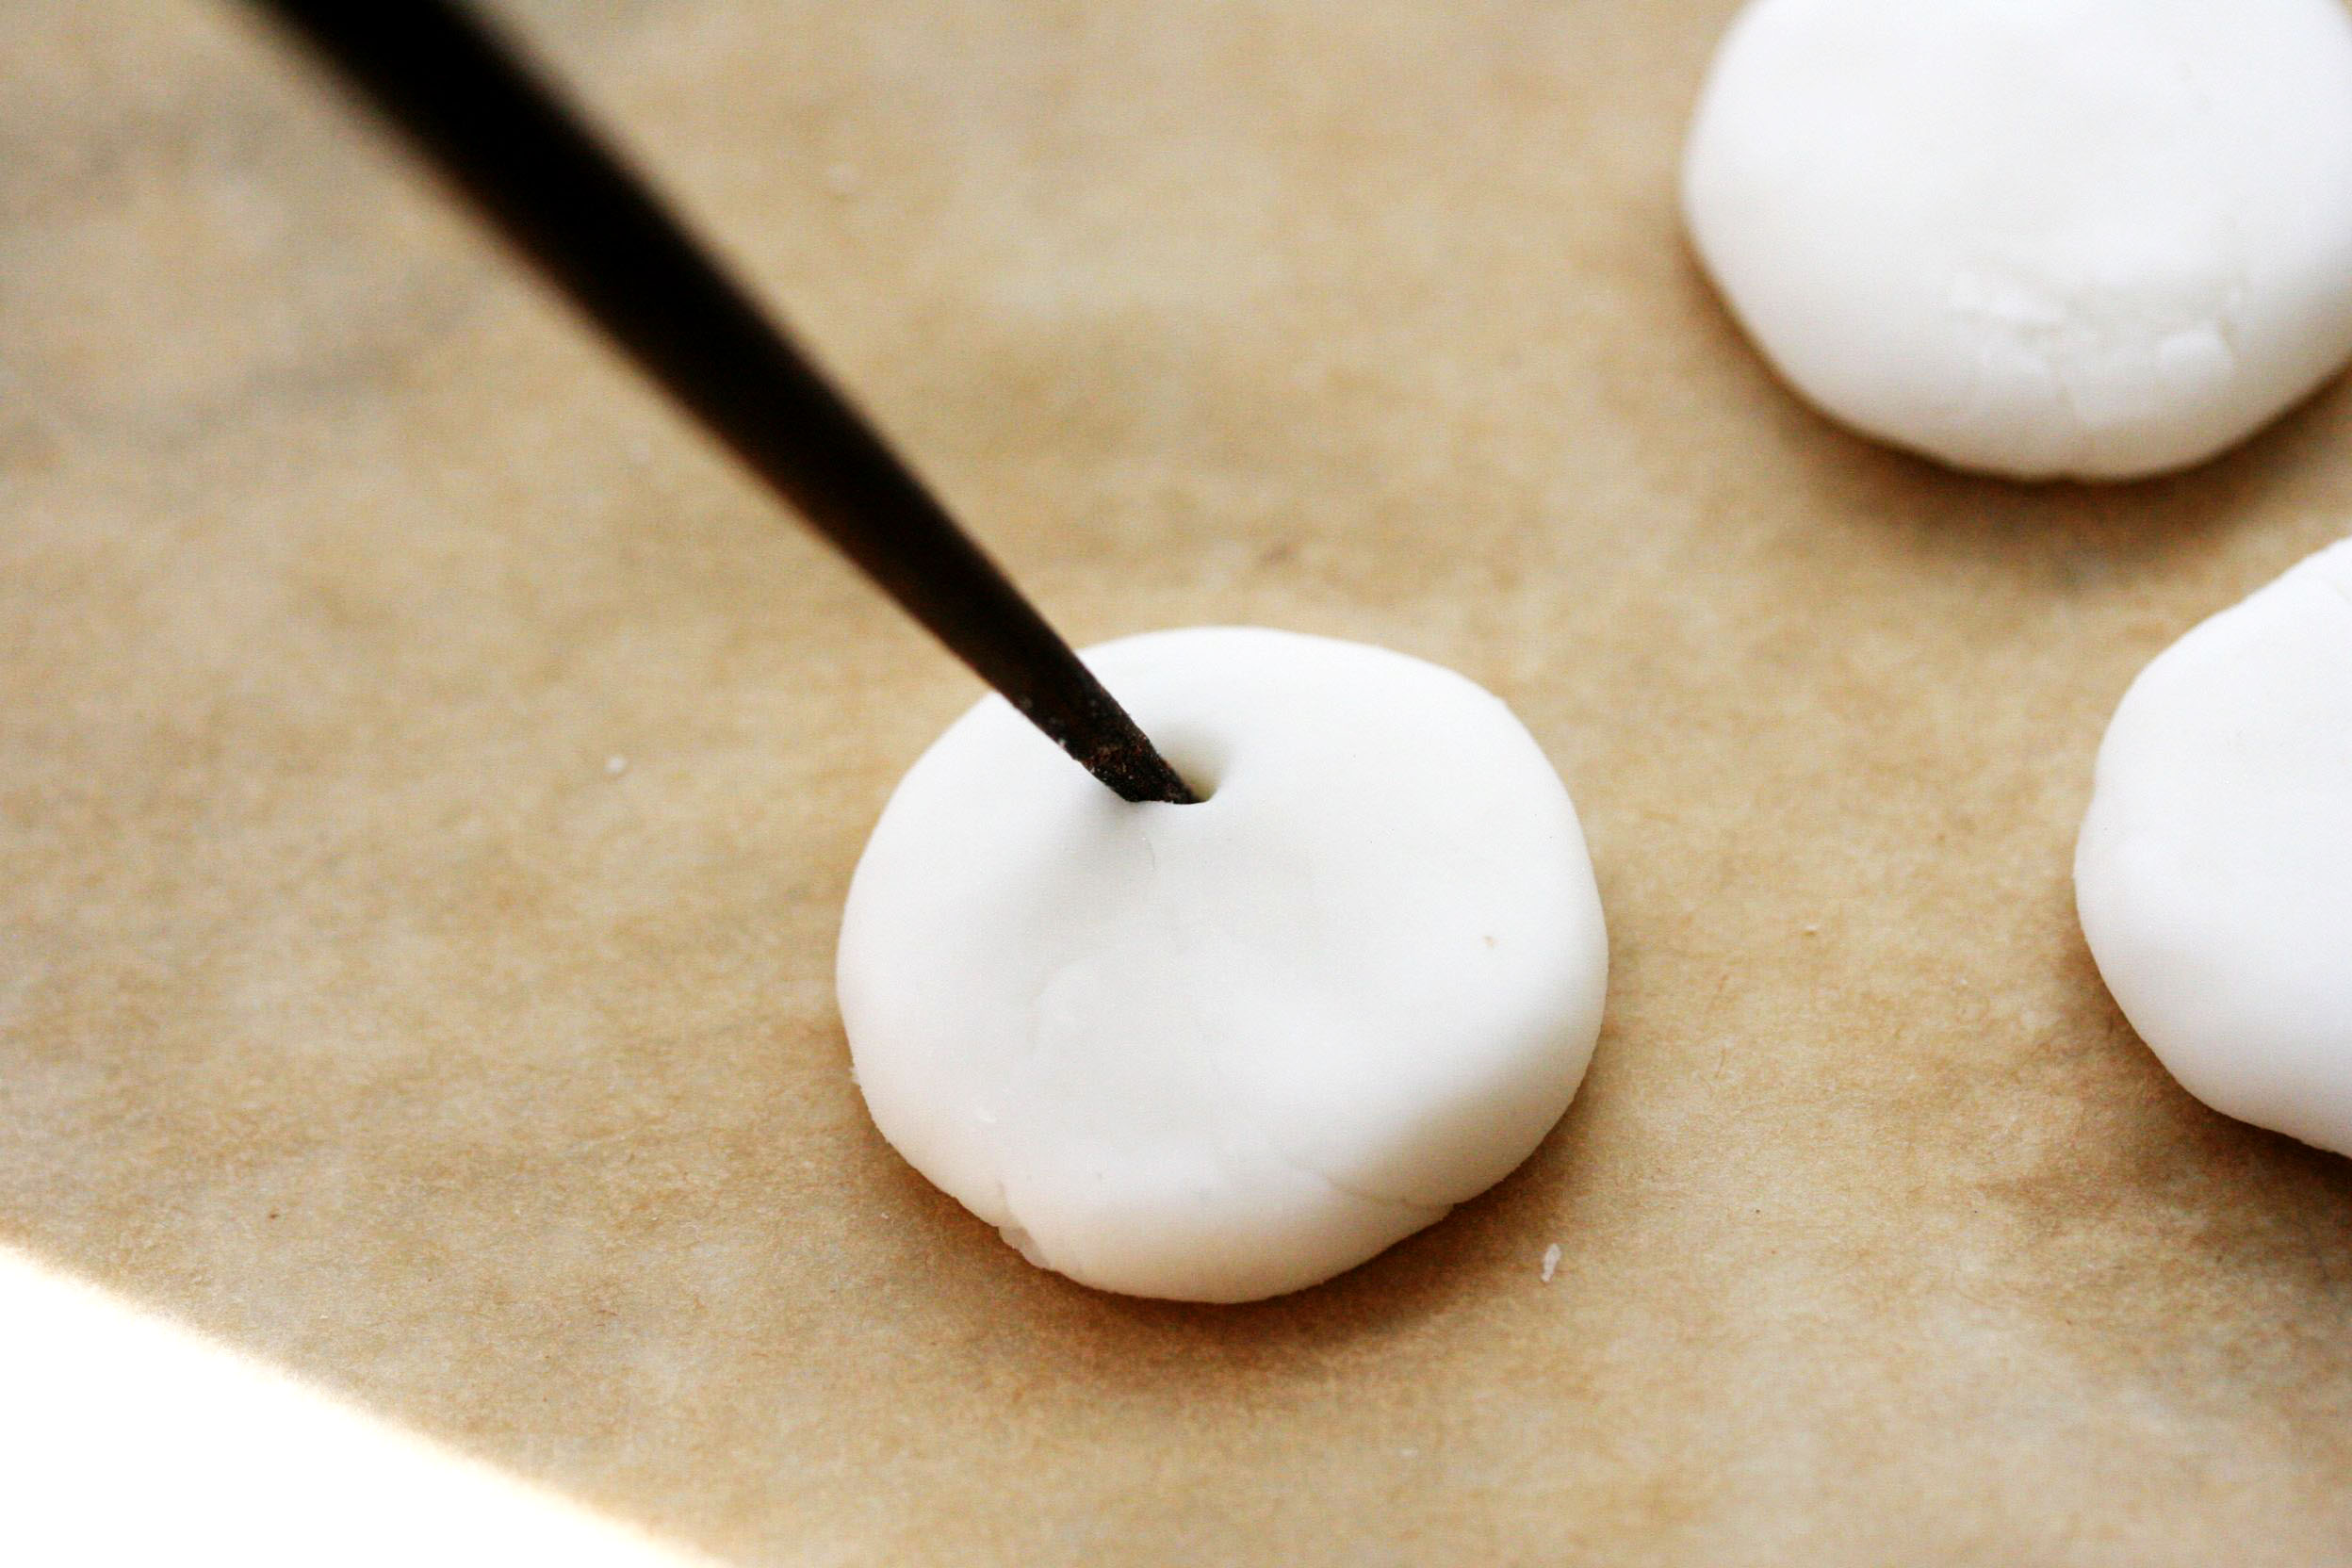
To make the charms, pull off a small piece of the clay and roll it into a ball about ½ inch across. Press the ball between the palms of your hands to flatten it into a disk. Use the knitting needle or chopstick to make a hole in the top of the disk, about ¼; inch in from the top edge.
Place your charms on a baking sheet that has been covered with a piece of parchment. Bake in a 300° oven for twenty minutes, or until they are totally hard and dry. Let cool. If your charms get overbaked and brown slightly, don’t worry — you will be painting them anyway.
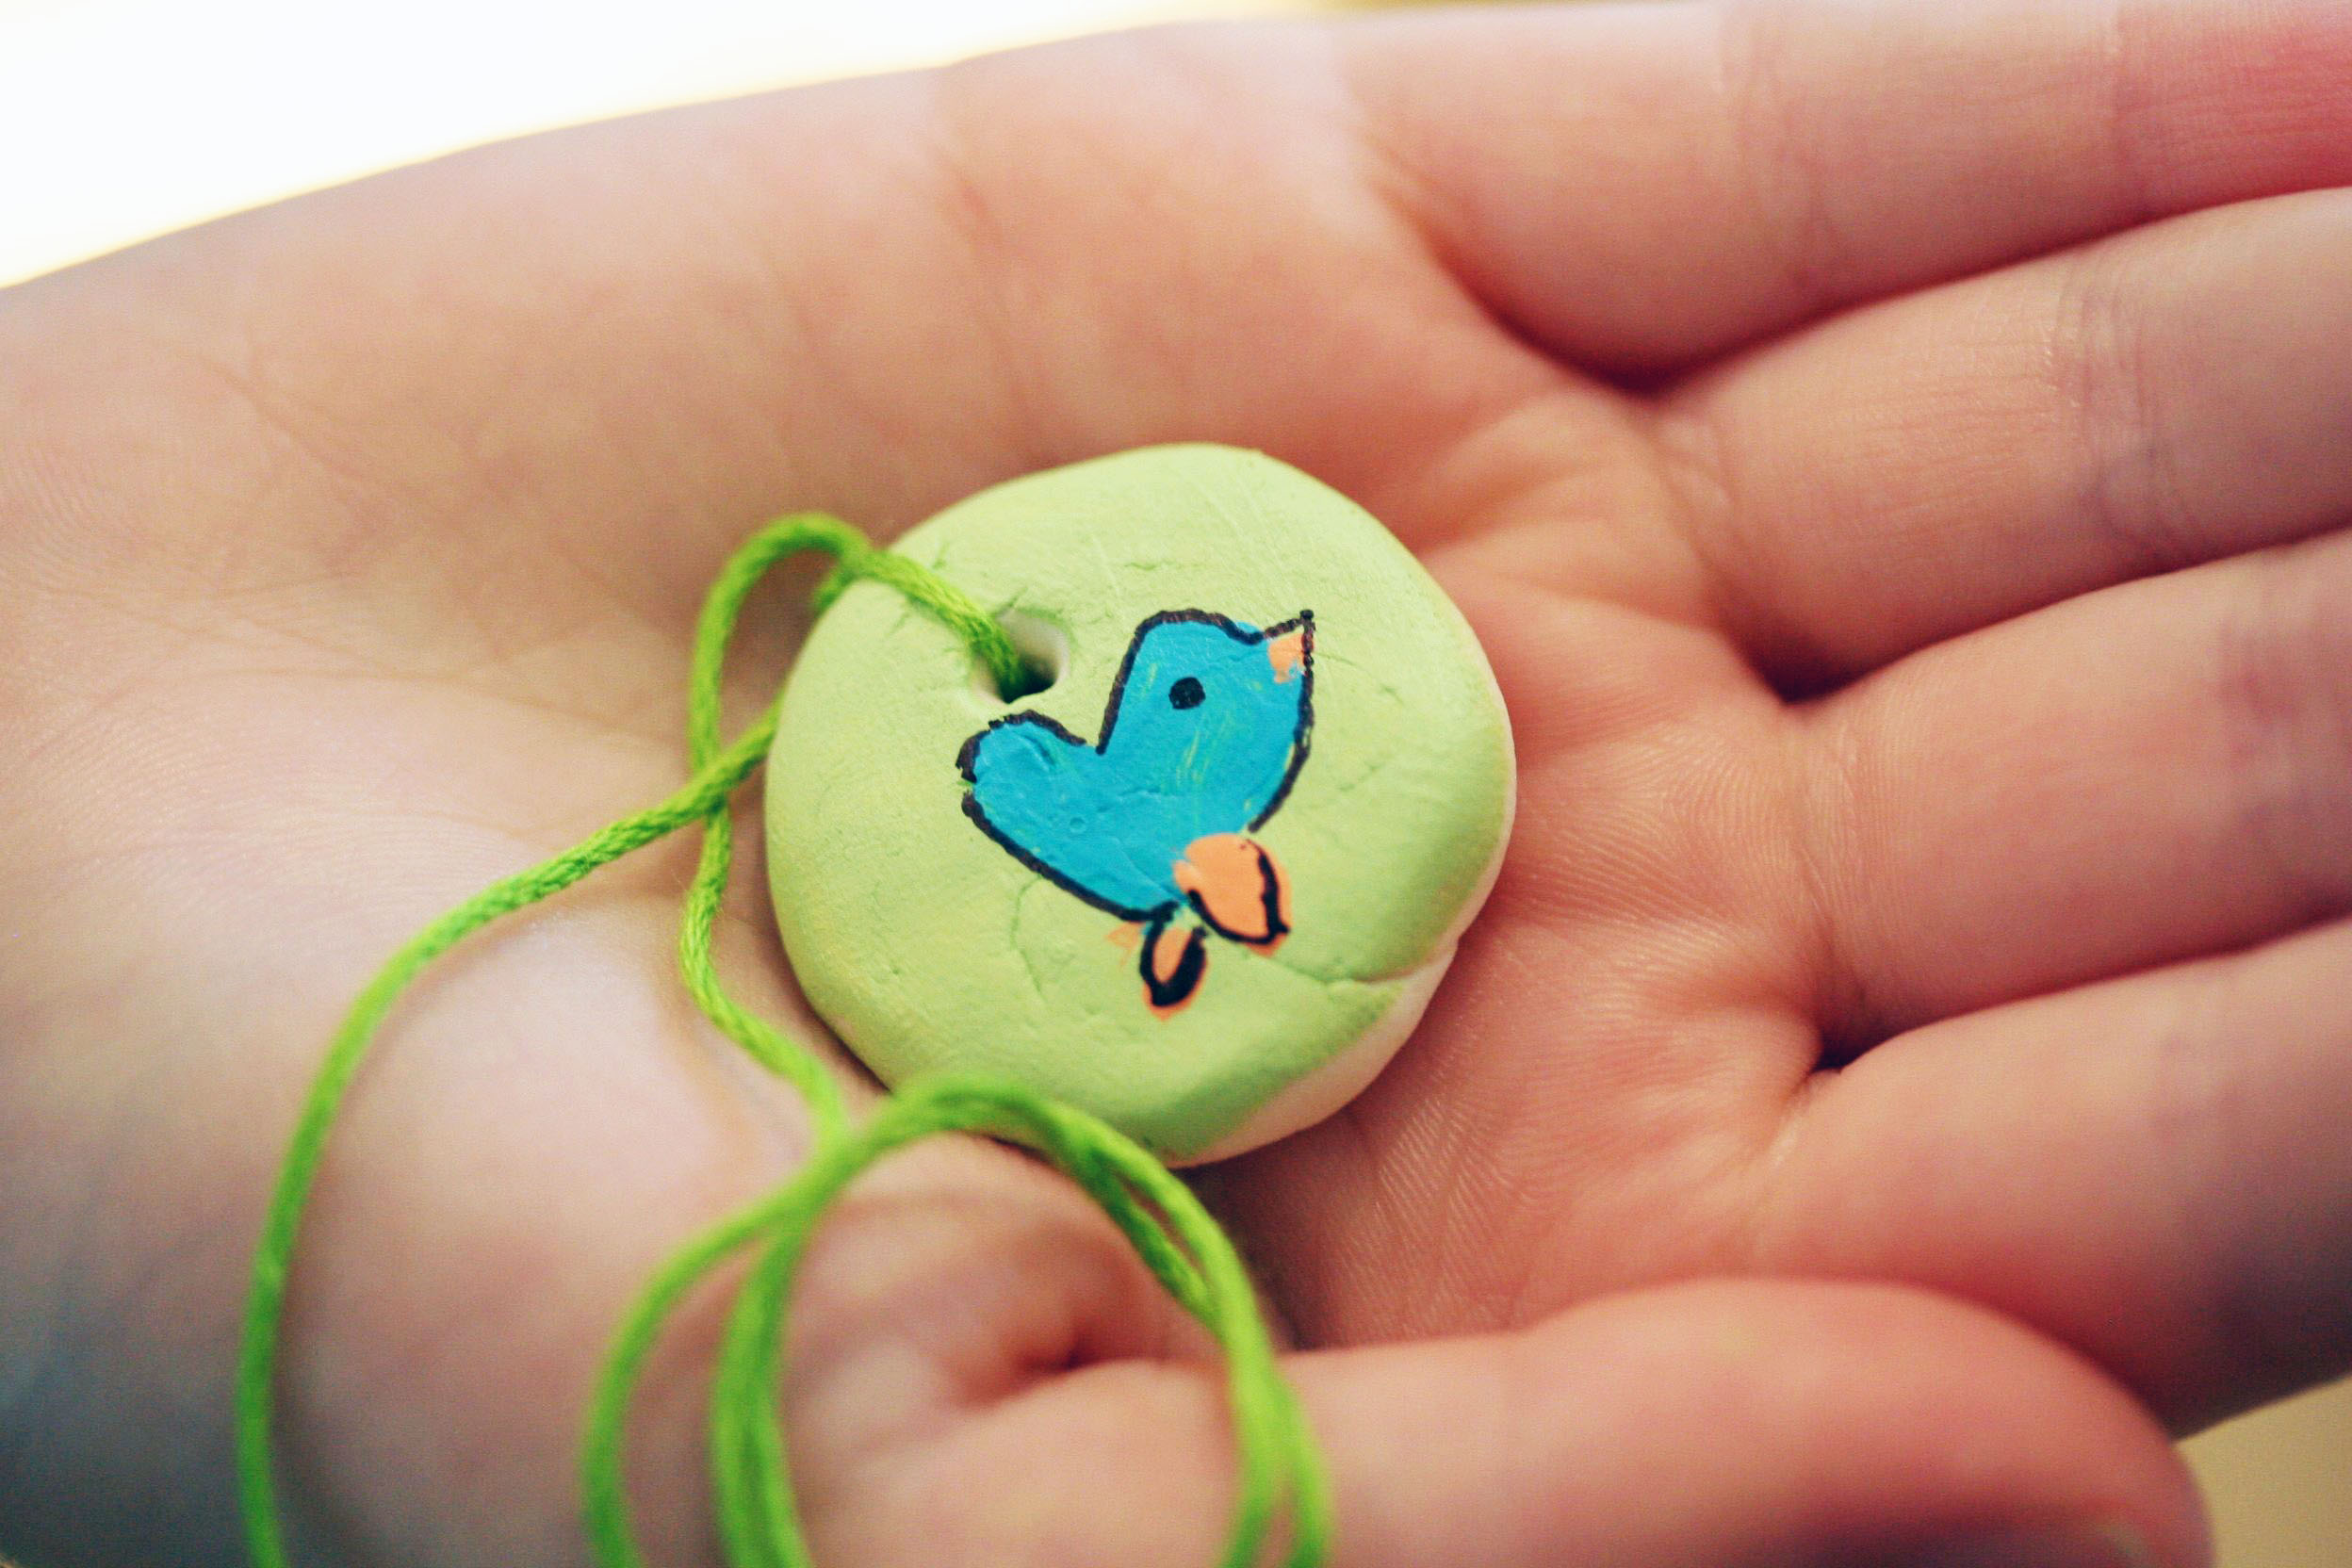
Once fully cool, paint your charms however you like and string them so that you can wear them around your neck, wrist, or ankle!
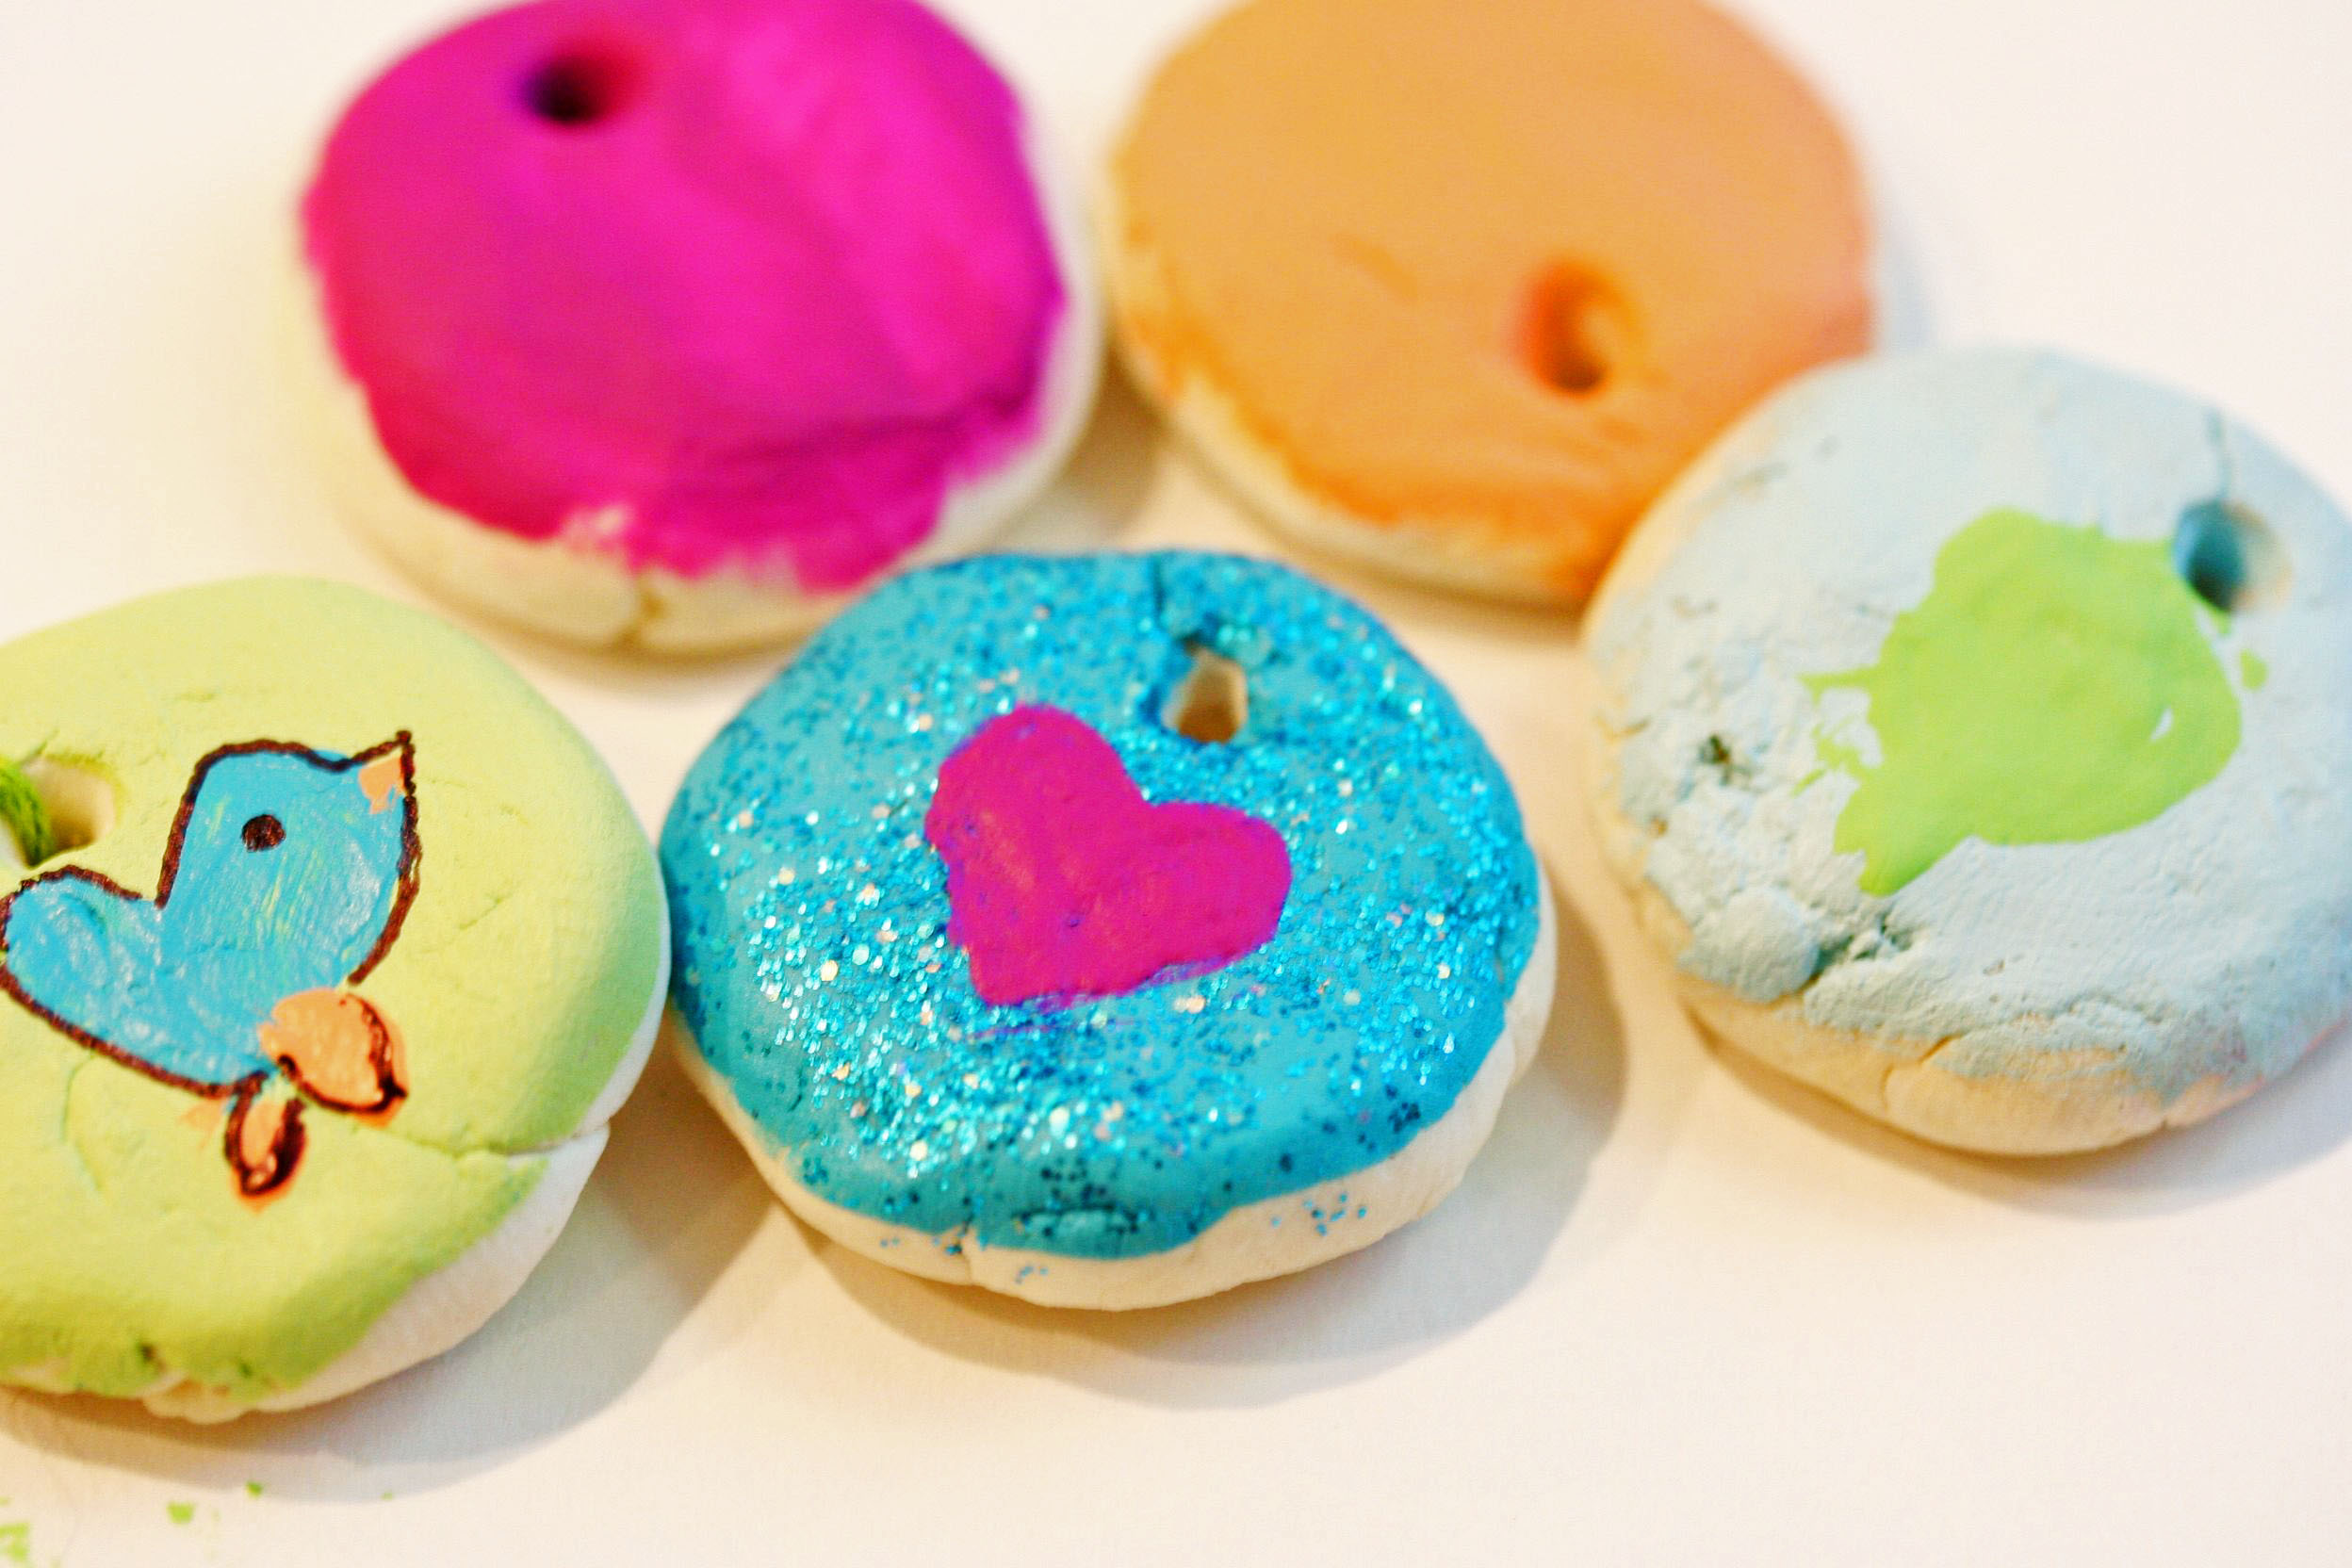
My daughter chose to add things to her charms that represented people in our family. She included a heart, a bird, and a leaf.
If you liked this tutorial, here are others you might enjoy:
Not yet a subscriber? Try a free trial HERE.
About the authors
-

Annie Riechmann
Nature School BloggerAnnie Riechmann is an educator and unabashed nature lover. Her many years of experience in education have taken her from coast to coast, where she has taught in both rural and urban settings. These experiences have given her a unique perspective on ways that families can connect to nature, no matter where they live. Annie is the creator of Alphabet Glue, a literacy based e-magazine for families, and is an advocate for outdoor education in the public schools. Along with Dawn Smith, she is also the author of the upcoming Whatever the Weather: Science Experiments and Art Activities That Explore the Wonders of Weather (Roost, 2016). You can find her work at Mud Puddles to Meteors , a blog dedicated to finding nature in the well traveled corners of everyday life, and a landing place for nature loving families raising kids to explore the world around them with a spirit of discovery and a love of science. Annie lives in Massachusetts with her family.
