Sparkle Crafts: Sparkling Fruit Ornaments
In the Martin & Sylvia Audio Advent Calendar story “The Tree“, Martin and Sylvia will be getting their Christmas tree — and this week so will we!
My son and I have been searching for homemade, unbreakable, nearly-edible ornament ideas because we have two new-ish kittens this year who have a fondness for mischief. I wouldn’t put it past them to knock over the entire tree if anything looks interesting, so we’ve decided to keep anything precious, sentimental, and/or breakable in their storage boxes this time around. Maybe by next year they will have matured a bit, but in the meantime, there is a bevy of easy, fun, and most importantly, inexpensive and unbreakable, ornament ideas all over the internet from sewing to stringing to gluing with fabric, wood, food, etc. that we’d like to try.
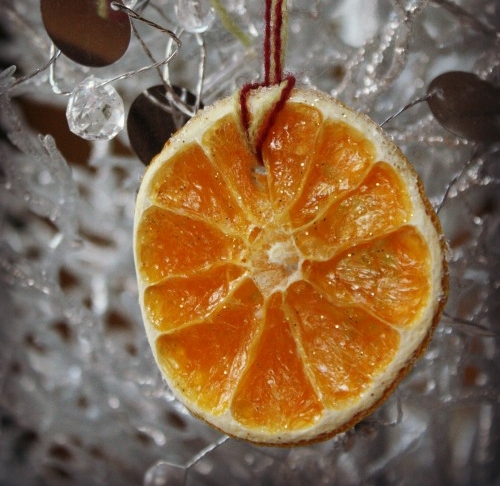
I know already that the kittens LOVE popcorn, and they’ve even run away with cranberries, so those traditional food garlands are off the list for us. However, I really wanted to use something edible in season, and even though it isn’t locally grown (the popcorn and cranberries would be for us), I can’t help but admire the beauty of the citrus now pouring into our local food Co-op. Citrus is always a festive treat in our Christmas stockings, so why not in our tree, too? When sliced to reveal the jewel-toned inner flesh, citrus is a piece of art.
And that’s where we begin!
What you’ll need:
- Citrus fruit of any variety: grapefruit, oranges, lemons, and limes are all lovely. Expect to get about five or six ornaments out of each piece of fruit
- Acrylic medium or Mod Podge
- Paintbrush
- Glitter (optional)
- Ribbon or yarn for hanging
Prepare the fruit
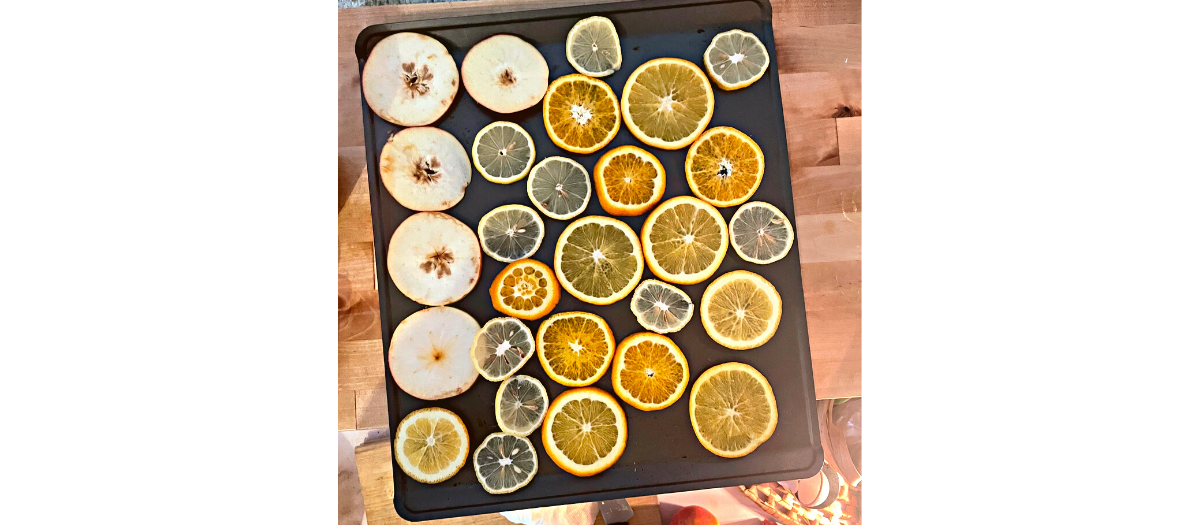
Slice your fruits into ¼″ pieces. If you have a dehydrator, arrange the slices and dry them for a few hours.
If you use an oven, arrange the slices on a baking tray, keeping the heat very low for drying. Flip them over and check on them often so they don’t burn. The fruit is ready when the cut surface is rubbery rather than crispy. Either way you dry them, plan on it taking a few hours.
Decorate the slices!
I used glitter in two ways. First, I mixed a few pinches into my acrylic medium; just enough to give the surface a hint of sparkle. I also had a bowl of crushed glass glitter I wanted to use on the edges and back. You can seal the ornament with the medium of your choice without glitter, too, of course.
The point here is to preserve the fruit’s good looks for many holiday seasons to come.
Add the finishing touches
Before sealing, use a skewer or toothpick to make a hole through the flesh, near the rind, where you would like to run your ribbon or yarn.
Glittery or no, simply brush the surface with your medium of choice, let it dry thoroughly, and then brush the other side. If you want to coat the back in glitter, dip the back into a dish of it just after you have brushed the glue on.

Don’t worry if the ornaments look a little messy while they’re still wet. As long as you’ve chosen a medium that will dry clear, you should have a nice presentation once it’s all dry.
Once it’s thoroughly dry, simply thread your ribbon or yarn through the hole, tie a sweet bow or a simple knot, and it’s ready to hang or give!
Enjoy!
Not yet a subscriber? Try a free trial HERE.
About the authors
-

Shannon Herrick
Sparkle Crafts BloggerShannon is a farmer, writer, mixed media artist, photographer, and dreamer, navigating the wilderness of modern life from a Little House in the Young Woods of southern Vermont.
