Sparkle Kitchen: Grilled Pizza
In this week’s Martin & Sylvia: More Adventures! story, “The Mud Oven,” Momma tells the children that the Brown’s are going to make bread in an oven that was made out of mud. Martin and Sylvia are confused — mud? How can you cook bread in something made of mud?
The practice of cooking in mud – or earth – ovens dates back to the earliest human civilizations. At its most primitive, a mud oven is an uncovered pit in the ground, with the ground itself being used to capture heat. But modern children are probably more familiar with the wood-fired pizza ovens that have become commonplace at really good pizzerias.
In those ovens, a stone hearth and dome capture the heat of a fire that burns within. Not only are they usually beautiful and cozy, they can be heated to very high temperatures — about 800 degrees Fahrenheit or more –which is what leaves your pizza with that delicious, slightly charred, chewy crust that wood-fired pizza ovens are known for.
While most of us will never have a mud oven (or even a fancy pizza oven) in our backyard, you can still get a pretty good pizza using your backyard grill.
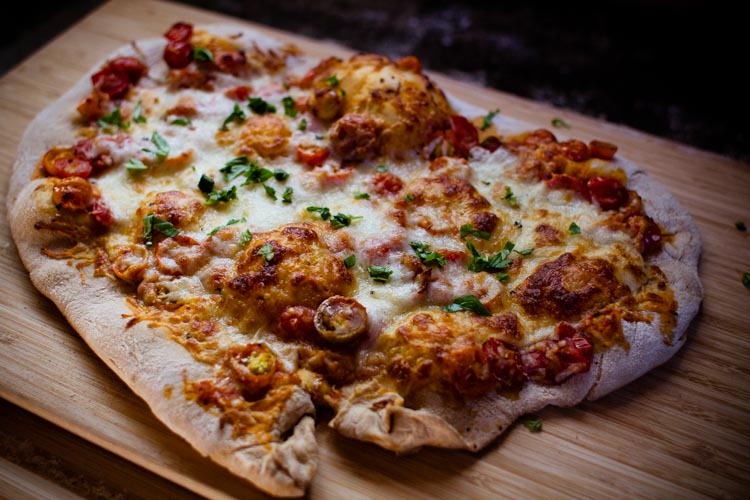
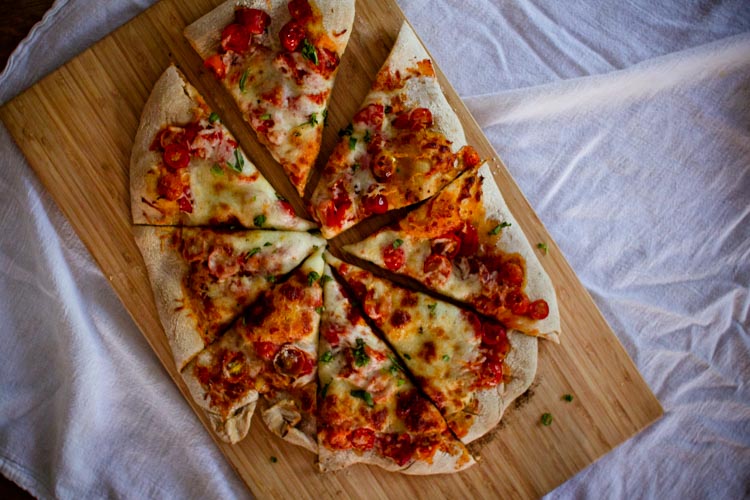
The following is a recipe our family has been working to perfect every summer for several years now. Just as your pizza will, ours gets better every year as we experiment and learn the temperament of our grill. While some years find us venturing further afield with toppings, this summer’s iteration has been classic—tomatoes, mozzarella, basil, and crispy-yet-chewy dough—but verging on magical in its simplicity. Sometimes I think our pre-historic ancestors knew just what they were doing!
Grilled Margherita Pizza
(makes 2 pizzas)
Ingredients
For the dough
1 envelope pizza dough yeast
1 teaspoon honey
1 ¼ cups warm water
about 3 cups bread flour
1 teaspoon salt
2 tablespoons olive oil, plus a dash or two for brushing as the pizza cooks
For the toppings
1 tablespoon olive oil
1 clove garlic, diced
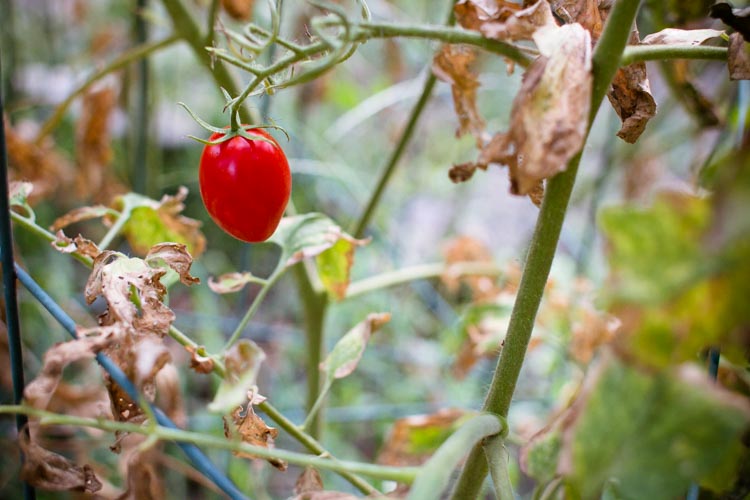
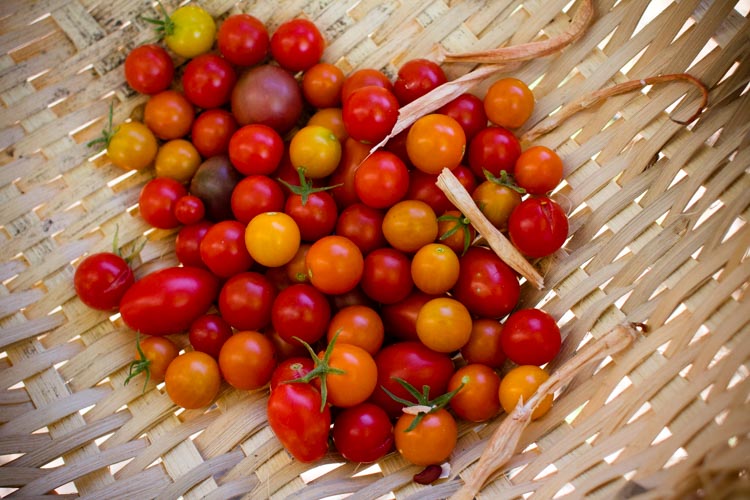
1 pint cherry tomatoes, cut in half
8-ounce can tomato sauce
1 cup shredded mozzarella cheese
a handful of fresh basil
Directions
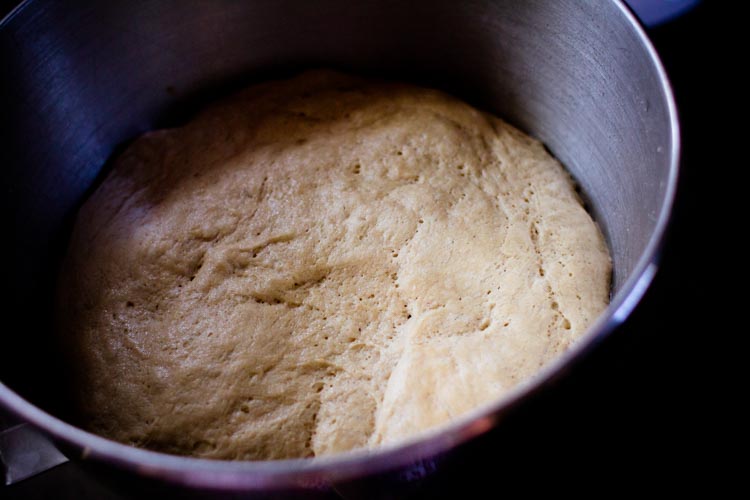
At least three hours (and up to overnight) ahead of time, mix the dough. Begin by pouring the packet of yeast into the warm water. Add the honey, too, then stir. Add this mixture to the bowl of a stand mixer fitted with a dough hook. With the mixer on, slowly add the flour—using a little more or less, as needed—to achieve a dough that is neither sticky nor crumbly.
Form the dough into a ball, put it into a large mixing bowl, and pour the olive oil over the top. Cover with plastic wrap, and put the dough into a warm place to rise, punching it down a few times as your dinner schedule permits.
When you’re ready to cook, heat your grill just as hot as you can get it. While we made great pizza without one for several years, if you have a pizza stone you can use it (allowing it to heat on the grill as the grill heats up, just like you would in your oven) to get a crisper crust.
As the grill heats, warm a tablespoon of olive oil in a large skillet over medium heat. Add the garlic and cherry tomato halves, then add the can of tomato sauce. Allow the sauce to barely simmer—just enough to thicken it—until your grill is at temperature.
When the grill is ready, divide the pizza dough into two balls and set one aside.
Roll the other out on a floured cutting board, then brush the top with olive oil. Place the dough olive-oil-side-down on your grill, and allow it to cook until the underside starts to crisp and darken. This usually takes a minute or two, but it will completely depend on your actual grill temperature, so use your eyes and nose rather than a timer.
Next, brush the top, uncooked side of the dough with olive oil, then flip the pizza over. Working quickly, top the pizza with half the tomato sauce and half the mozzarella. Put the lid on your grill and allow the pizza to cook for approximately 3-5 more minutes. Again, trust your eyes and nose over your timer.
(Tip for beginners: If the bottom of your pizza is starting to burn, but the top isn’t quite as bubbly as you’d like it, finish it with 30 seconds under your broiler inside.)
Repeat this process with the second pizza. If you can’t wait, you can go ahead and serve the first pizza while the second one cooks, but I find that — with little ones in the house — it’s better to let the pizza cool for a few minutes and serve both together.
Just before slicing them up, snip a few basil leaves into confetti and sprinkle it over the tops of your pizzas.
Enjoy!
If you liked this recipe, here are others you might enjoy:
Not yet a subscriber? Try a free trial HERE.
About the authors
-

Meryl Carver-Allmond
Sparkle Kitchen & Craft BloggerThe Sparkle Kitchen Series is created by Meryl Carver-Allmond.
Meryl lives in a hundred-year-old house near the prairie with her sweet husband, two preschoolers, one puppy, one gecko, and about ten chickens. While she’s been writing since she could pick up a pen, in recent years she’s discovered the joy of photography, too. She feels lucky to be able to combine those skills, along with a third passion — showing people that cooking for themselves can be healthy and fun — in her Sparkle Kitchen posts.


